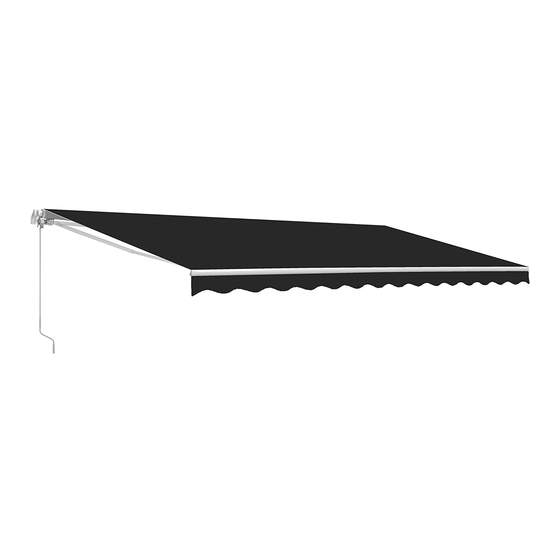
Aleko Victoria Series Instrukcja instalacji - Strona 4
Przeglądaj online lub pobierz pdf Instrukcja instalacji dla Akcesoria Aleko Victoria Series. Aleko Victoria Series 20 stron. Sizes 6.5x5 8x6.5 10x8
Również dla Aleko Victoria Series: Instrukcja instalacji i obsługi (12 strony), Instrukcja montażu (14 strony), Instrukcja instalacji (17 strony)

- 1. Parts Diagram
- 2. Assembly Step One: Preparing Your Work Space
- 3. Assembly Step Four: Torsion Bar Assembly
- 4. Assembly Step Eight: Center Support Assembly
- 5. Installation: Notes about Wall Mounting
- 6. Optional Installation: Adjusting the Awning Pitch/Angle
- 7. Optional Installation: Motor Installation
INTRODUCTION
Thank you for purchasing ALEKO's Retractable Awning! We hope you will find joy in our
product for many years to come.
To ensure your personal safety during installation and to get the most out of your investment, please read this entire
manual before beginning the installation process. If you feel that this process is too difficult to do on your own, we advise
that you seek assistance from a local building or home improvement contractor.
WARNING
severe personal injury as well as product failure not covered by warranty. Please
follow all instructions carefully or contact technical support for assistaince.
We believe that installation can be a simple, streamlined process if you follow the instructions in this manual. To
accompany these written instructions, ALEKO has a Youtube channel with assembly and installation tutorials, demos,
and more. Go to: www.youtube.com/AlekoProducts.
Please contact our customer support line for help any step of the way. If you need assistance with assembly, have
missing or defective parts, or any other issues, please email us at [email protected] or give us a call Monday
through Friday, 7am-6pm PST at +1 (888) 246-8596.
INTRODUCTION
WARNINGS
Failure to follow these instructions can result in a broken product or personal injury. Please be attentive to each
❗
step.
Open the awning packaging carefully to avoid damaging the product or yourself.
❗
DO NOT remove the safety wrap that secures the awning arms until instructed to do so. The awning arms will spring
❗
open and can cause serious injury if handled inappropriately.
Be sure to install ALL screws for maximum security.
❗
Never install your awning in high, windy places. The awning could fall and cause injury or property damage.
❗
Do not install the awning in a place that receives excessive vibrations.
❗
Do not install the awning in places with high temperatures, such as walls near furnaces.
❗
Never place heavy items on the awning frame. This can cause it to fall down.
❗
Close the awning in storm conditions, such as excessive wind and rain.
❗
Two adults are required for successful and safe installation.
❗
TOOLS REQUIRED FOR ASSEMBLY
1. Measuring tape
2. Non-metallic mallet
3. Phillips screw driver
4. Power drill with 19 millimeter drill bit
5. 19 millimeter hex key
4
Improper installation and operation of your awning can result in
6. Ribbon tube spanner
7. Chalk line leveler
8. Optional - (to change awning pitch): 17mm wrench &
14mm wrench (M10 and M12)
9. Two ladders or very sturdy chairs
