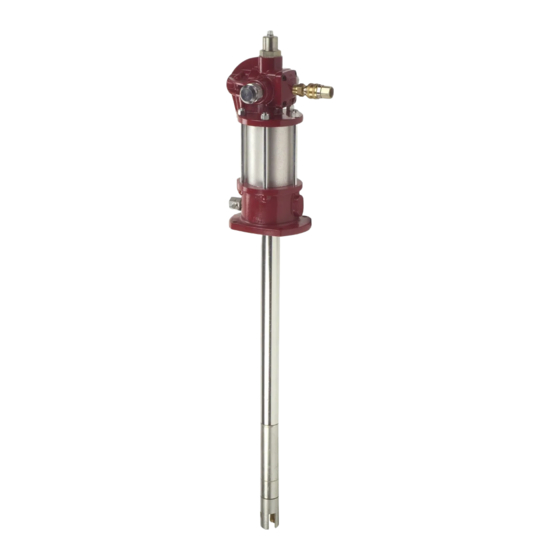
Alemite 7785 Series Instrukcja serwisowa - Strona 10
Przeglądaj online lub pobierz pdf Instrukcja serwisowa dla Pompa wodna Alemite 7785 Series. Alemite 7785 Series 14 stron. High-pressure grease pump

SER 7785-A5
18. Install aluminum Gasket (21), Washer (22), and
additional Gasket (21) into the Body.
• Make sure the components maintain their position.
Pump Tube
NOTE: Refer to Figure 5 for cross section
view of pump tube components.
19. Clamp the flats of Piston (35) into a soft-jaw vise.
• Make sure the Piston bore points upward.
20. Install Retainer (36) [flange end first] into the Piston.
• Make sure the Retainer centers and seats properly.
21. Install Spring (37) into the Piston.
22. Install Ball (38) into the Spring.
23. Install Washer (39) onto Adapter (40).
24. Screw the Adapter (with Loctite 222) into the Piston.
See Figure 2-B.
• Tighten securely.
25. Install Washer (46) into Valve Body (48).
CAUTION
Use care seating Seal (47) into the Valve Body.
Damage to the Seal can occur.
26. Install and seat Seal (47) [heel end first] into the Valve
Body.
27. Install additional Washer (46) and Screw (45) into the
Valve Body.
• Do not tighten or seat the Screw.
28. Lubricate the Primer Rod with grease.
29. Install the Valve Body assembly onto the upper end of
the Primer Rod.
• Use a small hammer or other suitable tool.
30. Tighten the Screw into the Valve Body securely.
31. Install Guide Washer (44) onto the Primer Rod.
32. Screw Primer Rod (42) into the Adapter until the Roll
Pin holes align.
CAUTION
Support the Primer Rod and the Adapter during
Roll Pin (41) installation. Damage to components
can occur.
Revision (11-08)
1-800-548-1191-http://[email protected]
Figure 5 Pump Tube Assemblies
323730-A1 and 323730-B1 - Section View
10
High-Pressure Grease Pump
Refer to Figure 2-B
Parts List
for Parts Identification
Alemite, LLC
