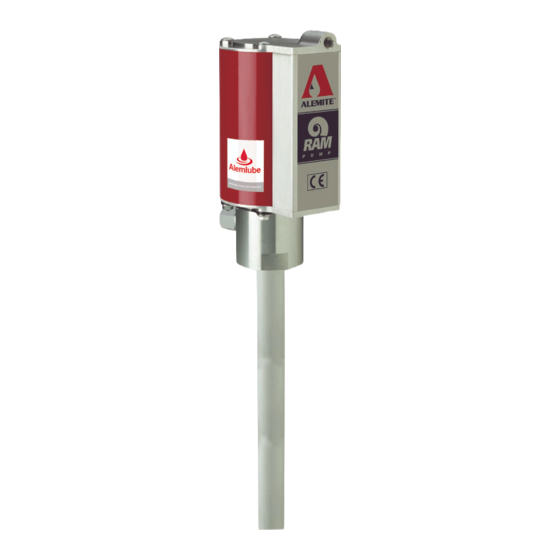
Alemite 9911-1 Instrukcja serwisowa - Strona 8
Przeglądaj online lub pobierz pdf Instrukcja serwisowa dla Pompa wodna Alemite 9911-1. Alemite 9911-1 12 stron. High-pressure stripped pump
Również dla Alemite 9911-1: Instrukcja serwisowa dla właścicieli (16 strony), Instrukcja serwisowa (12 strony)

SER 9930
20. Remove Roll Pin (40) that secures the Primer Disk to
Primer Rod (38).
• Remove the Primer Disk from the Primer Rod.
21. Remove the entire Rod assembly from the top of the
Upper Tube.
22. Remove Roll Pin (29) that secures the Primer Rod to
Piston (28).
• Unscrew the Primer Rod from the Piston.
Step for Model 9979 Only
23. Remove Roll Pin (24) that secures Extension (23) to
the Piston.
• Unscrew the Piston from the Extension.
Step for Model 9979 Only
24. Remove Roll Pin (24) that secures Rod (9) to the
Extension.
• Unscrew the Extension from the Rod.
Step for Model 9930 Only
25. Remove Roll Pin (24) that secures Rod (9) to the
Piston.
• Unscrew the Piston from the Rod.
26. From inside the Piston remove:
• Spring Guide (25)
• Spring (26)
• Ball (27)
27. Unscrew the Upper Tube from Lower Tube (33).
• Use a strap wrench.
Lower Tube
28. Remove Gasket (32), Bearing (30), Seal (31), and
additional Bearing (30) from the Lower Tube.
Item No.
5
Quad-Ring, 2-5/8 " ID x 3 " OD
6
O-Ring, 3/8 " ID x 1/2 " OD
8
O-Ring, 2-3/4 " ID x 3 " OD
12
Seal, 1/2 " ID x 3/4 " OD
* Part number 393590 is a 0.75 ounce (21.8 gm) tube of Magnalube-G Teflon grease
Revision (8-10)
Description
Clean Oil
Magnalube-G Teflon Grease *
Coat the Bore of the Air Motor Assembly
Table 3 Lubricated Components
8
High-Pressure Grease Pump
Primer Body
29. Unscrew Primer Body (41) from the Lower Tube.
30. From inside the Lower Tube remove:
• Gasket (32)
• Seat (37)
• additional Gasket (32)
• Foot Valve (36) [with Seal (35)]
• Stop (34)
31. Remove the Seal from the Foot Valve.
Clean and Inspect
1. Clean all metal parts in cleaning solvent. The solvent
should be environmentally safe.
2. Inspect all parts for wear and/or damage.
• Replace as necessary.
3. Inspect Air Piston (4) for fatigue cracks.
• Replace as necessary.
4. Inspect Rod (9), Piston (28), and Primer Rod (38)
closely. Use a magnifying glass to detect any score
marks.
• Replace as necessary.
5. Closely inspect the mating surfaces of all check valve
components for any imperfections. Ensure a smooth
and clean contact is obtained when assembled.
EXAMPLE: Place Ball (27) into Piston (28).
Fill the Piston with solvent. Make sure no
leakage occurs.
Assembly
NOTE: Prior to assembly, certain compo-
nents require lubrication. Refer to Table 3
for details.
Item No.
14
Seal, 1/2 " ID x 7/8 " OD
17
O-Ring, 2-9/16 " ID x 2-3/4 " OD
31
Seal, 5/8 " ID x 1 " OD
35
Seal, 0.282 " ID x 0.532 " OD
Description
Alemite, LLC
