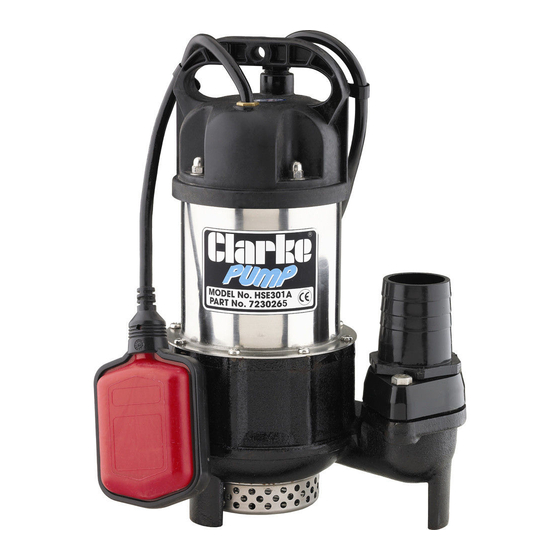
Clarke HSEC650 Instrukcja obsługi i konserwacji - Strona 9
Przeglądaj online lub pobierz pdf Instrukcja obsługi i konserwacji dla Pompa wodna Clarke HSEC650. Clarke HSEC650 20 stron. Submersible pumps

OPERATION
CONNECTION AND LOCATION
1. Place the pump in a vertical position resting on a firm, flat surface. If this is
not available, sit the pump on timber or house bricks, but ensure they are
not likely to collapse. Never install the pump on sand, silt, mud or ground
that is likely to collapse.
Automatic versions should only be placed in a sump which is large
enough not to restrict the movement of the float switch. It is advisable to
use a strainer when using the pump as a sump pump.
2. Keep the pump clear of
any sediment by standing
it on a platform or brick or
suspending from a rope
attached to the handle if
the pump is to be used
where there may be silt or
mud etc (e.g. garden
ponds).
3. Connect the outlet to the
largest diameter hose
available, as any
restrictions will reduce
capacity and put further
strain on the motor. The
outlet hose diameter for
each HSE pump is given in
the Technical
Specification on page 16.
4. Ensure that the hose diameter is equal to or greater than the diameter of
the pump outlet if a long run of discharge hose is being used.
5. Ensure the float has sufficient room to operate correctly if used in a
confined space such as a shaft or sump.
Note: When the pump is being used in a permanent or semi-permanent
installation, a check valve must be fitted in the delivery hose.
Suitable hoses are available from your Clarke dealer.
USING THE PUMP
1. Take all necessary precautions as described on page 4 before plugging in
the pump and switching ON. Where the pump is an automatic unit fitted
with a float switch, the pump will only run where there is sufficient depth of
water for the float to rise and activate the pump.
9
