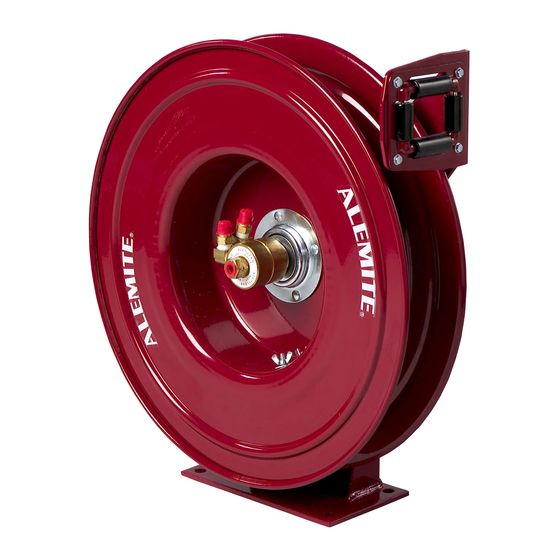
Alemite 7338-C Instrukcja serwisowa - Strona 9
Przeglądaj online lub pobierz pdf Instrukcja serwisowa dla Narzędzia Alemite 7338-C. Alemite 7338-C 12 stron. Severe-duty welding hose reel

SER 7338-C
Bench Test
While facing the ratchet on the power spring
Assembly, turn the reel in a counterclockwise direction
and allow the ratchet to latch the Pawl.
If the reel does not tension or latch properly, refer to
the Troubleshooting Chart.
Installation
On the Bench
IMPORTANT: Clean the delivery hose
before attachment to the reel.
1. Blow any foreign particles from both lines of the
delivery hose.
• Make sure the hose is clean and dry.
2. Feed the end of the acetylene/oxygen delivery hose
through the opening in Sheave Assembly (16).
3. Screw the oxygen hose end (with right-hand threads)
into Connector (7).
4. Screw the acetylene hose end (with left-hand threads)
into Connector (6) [with notches].
5. Attach the delivery hose to the Sheave Assembly with
U-Bolt (15), Washers (13) and Wing Nuts (14).
• Tighten the Wing Nuts securely.
6. Rotate the Sheave Assembly to wrap the hose onto the
reel.
• The clicking sound is the power spring bypassing the
cam on the Spring Arbor.
7. Screw the acetylene connecting hose [with Teflon
tape] securely into Swivel Shaft (1).
8. Screw the oxygen connecting hose [with Teflon tape]
securely into Shaft and Flange Assembly (41).
Mount the Reel
IMPORTANT: Should the reel mount to a
ceiling, it is mandatory that the reel be
installed at a height no greater than 20 '
(6.1 m) from the floor. Should the existing
ceiling height be greater, mount the reel to a
suspension bracket.
Revision (12-07)
Severe-Duty Welding Hose Reel
9. Mount the reel assembly with the appropriate
hardware.
NOTE: Make sure the connecting hoses do
not chafe on the reel.
10. Install the torch to the delivery hose.
• Make sure the connections are secure.
11. Install and secure the hose stop to the desired position.
Purge the Delivery Hose
WARNING
Purge the delivery hose in a well ventilated
area.
Personal injury can occur due to explosion.
IMPORTANT: Purge each line of the deliv-
ery hose individually.
12. Turn on the regulator at the acetylene tank and remove
all the air within the line.
13. Repeat the process for the oxygen line.
Check for Leaks
14. Apply a soap solution to each connection to ensure no
leakage occurs.
Setting Spring Tension
CAUTION
Do not overwind the power spring. Too much ten-
sion reduces the life of the spring.
To adjust tension on the power spring:
15. Add / remove one coil of hose to / from the Sheave
Assembly.
IMPORTANT: Add or remove hose coils to
provide the amount of spring tension that
gently holds the hose stop against the hose
guide. When the hose is fully extended from
the reel, the power spring should be a mini-
mum of 1/2 turn from a fully wound condition.
16. Repeat step 15 until the proper tension is achieved.
9
Alemite Corporation
