CTEK 1045 Podręcznik - Strona 3
Przeglądaj online lub pobierz pdf Podręcznik dla Ładowarka CTEK 1045. CTEK 1045 8 stron.
QUICK GUIDE
To charge, with last used program settings
4
Turn on mains switch
5
Press START/STOP-button to
start charging
Press the START/STOP-button
to interrupt charging
1
Attach the cables to
the charger
Connect
the charger
to mains supply*
2
Connect the charger
to the battery
*Supply plugs may differ to suit your mains supply.
WARNING!
Batteries and electronics will be damaged if 12V batteries
are charged in 24V-setting.
MOUNTING
When permanently mounting the charger, mount the charger on a firm
surface. Fix the charger with screws in the four holes. Use screws intended
for the surface. Allow space around the charger to not interfere with air
cooling.
USB TYPE B CONTACT
USB TYPE B CONTACT
3
Used for downloading of customized charging programs.
Contact [email protected] for information.
NOTE: Not to be used for mobile phone charging!
READY TO USE
The table shows the estimated time for empty battery to 80% charge
20Ah 50Ah 100Ah 200Ah 500Ah 1000Ah
10A
2h
4h
20A
2h
30A
2h
40A
50A
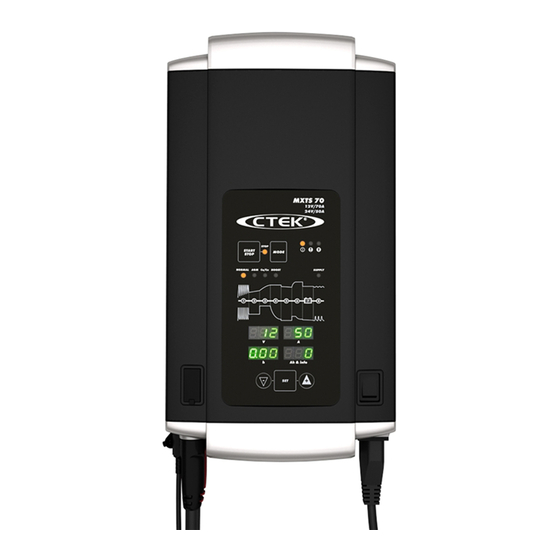
MXTS 70
12V/70A
24V/50A
STOP
START
MODE
STOP
NORMAL
AGM
Ca/Ca BOOST
SUPPLY
1
2
3
4
5
6
7
8
V
A
h
Ah & info
SET
BATTERY SIZE
8h
4h
8h
3h
5h
2h
4h
10h
2h
3h
8h
16h
CONNECT THE CABLES
If the battery clamps are incorrectly connected, the reverse polarity protection will
ensure that the battery and charger are not damaged.
• Connect the battery cable
, including the temperature sensor, to the
1
charger.
• Connect the mains cable
to the charger.
2
• Connect the red clamp
to the battery´s positive pole.
3
• Connect the black clamp
to the vehicle chassis remote from the fuel
4
pipe and the battery.
• Connect the charger
to the mains supply.
5
• Turn on mains switch
.
6
DISCONNECT THE CABLES
• Turn off mains switch
.
6
• Disconnect the charger from the mains supply
before disconnecting the
5
battery.
• Disconnect the black clamp
before the red clamp
4
6
–
1
–
+
+
Some vehicles may
have positively
earthed batteries
• Connect the black
• Connect the red clamp
3
4
Disconnect the cables
• Disconnect the red clamp
5
.
3
2
clamp
to the battery´s
3
negative terminal.
4
to the vehicle chassis
remote from the fuel pipe
and the battery.
4
before the black
clamp
.
3
EN • 5