Clarke GH1 Instrukcja obsługi - Strona 2
Przeglądaj online lub pobierz pdf Instrukcja obsługi dla Grzałka Clarke GH1. Clarke GH1 4 stron. Greenhouse heaters

ASSEMBLY
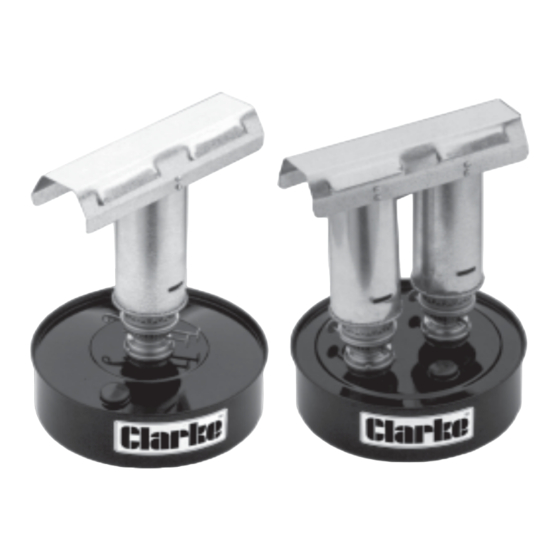
Attach the the chimney/s to the top heater plate using the self-tapping screws provided.
THIS HEATER IS FOR USE IN A GREENHOUSE ONLY, AND SHOULD NOT, UNDER ANY
CIRCUMSTANCES BE USED IN A DWELLING, CONSERVATORY, WORKSHOP OR GARAGE
VENTILATION
Open the ventilators in the ridge of your greenhouse, away from the wind. Some
ventilation is very important in a greenhouse, even on cold days and nights,
otherwise the burner will be starved of oxygen and the flame will die down.
Draughts of course must be avoided. Position the heater on a flat, level floor in
such a place that accidental movement or knocking over would not be possible.
HUMIDITY
If humidity is required in the greenhouse, place a pan or tray of water near the
heater, and top-up as required. Humidity is more likely to be required in the Spring,
Summer and Autumn than in the Winter. In wintertime, it is recommended that
too much humidity should be avoided.
SAFETY PRECAUTIONS
•
ALWAYS use premium grade paraffin to BS 2869:C1 as this is the ONLY fuel
suitable for safe use of your heater.
•
NEVER attempt to fill or top-up your heater whilst it is lit and never move the
heater when lit.
•
ALWAYS Use a clean, dry receptacle (and funnel if used) for transferring paraffin
from the main storage to the container and ALWAYS wipe any spillages from
the outside of the container.
•
DO NOT under any circumstances use a vessel that has previously contained
water, petrol or methylated spirits to store your paraffin.
HOW TO LIGHT AND MAINTAIN THE LAMP
Before lighting a new wick, or an old wick after a period of disuse, remove the
wick from the burner(s) and ensure it is dry. This is most essential because if the
wick is damp, the paraffin will not soak right up the wick evenly and the correct
flame quality will not be achieved.
Re-fit the wick(s) and allow to soak well for about 30 minutes before lighting. If
one end of the wick is coloured it is that end which should be fitted uppermost
and lit.
Always make sure that the domed top of the burner is pressed securely in position,
and that the complete burner is screwed firmly into the screwed collar on the oil
tank.
IMPORTANT:
