Clarke CONTRACTOR CWJ900 Instrukcja obsługi i konserwacji - Strona 9
Przeglądaj online lub pobierz pdf Instrukcja obsługi i konserwacji dla Narzędzia Clarke CONTRACTOR CWJ900. Clarke CONTRACTOR CWJ900 20 stron. Worktop jig

24. Place the router into the front of one of the clamp bolt recesses, set the depth of
cut to 10mm max. Switch the router ON and machine the recess. When done,
switch the router OFF and wait for the cutter to stop spinning. Return the router to
the back again. Increase the depth of cut a further 10mm and machine the recess
again. When finished, switch the router OFF and wait for it to stop spinning.
25. Repeat step 24 for the other 2 recesses (other 3 recesses for 900mm worktops).
Recesses must be no deeper than 20mm maximum.
Right Hand 90º Joint
Female joint (Fig. 8)
1.
the post form edge towards you.
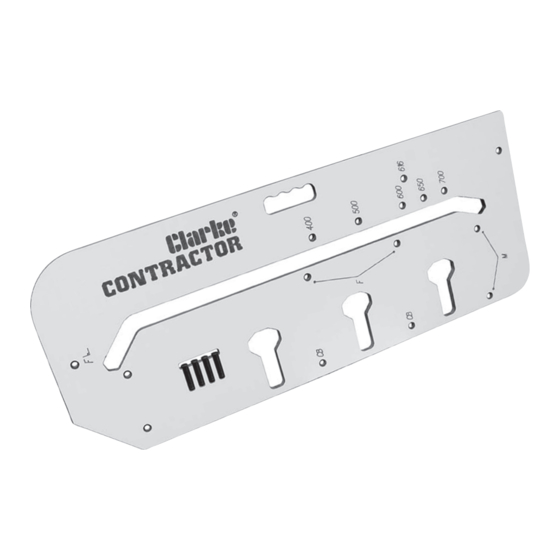
2. Fully insert 2 pins in the holes marked 'F' .
3. Fully insert third pin in hole corresponding to the worktop width (e.g.700mm).
4. Ensure the 2 pins in holes 'F' are pushed firmly against the post form edge, and the
third pin in the worktop width hole is pushed firmly against the worktop edge.
Post Form Edge
Cut Direction
5. Firmly clamp the jig onto the worktop ensuring the clamps do not obstruct the router
path.
Cutting
6.
- follow steps 6 - 9 on page 6.
Male Joint (Fig. 9)
7.
8. Fully insert two pins in the jig holes marked 'M' with angle symbol
9. Refer to page 10, (cutting to length) to determine where to mark the pencil line for
positioning the jig on the worktop.
10. Ensure the two pins in holes 'M' are pushed firmly against the post form edge and
the jig lined up on the pencil line as above (Fig. 9 overleaf).
IMPORTANT
- prepare the worktop with the laminate face down and
Female joint - laminate face down.
- Place the worktop with the laminate face up.
Fig. 8
.
-8-
