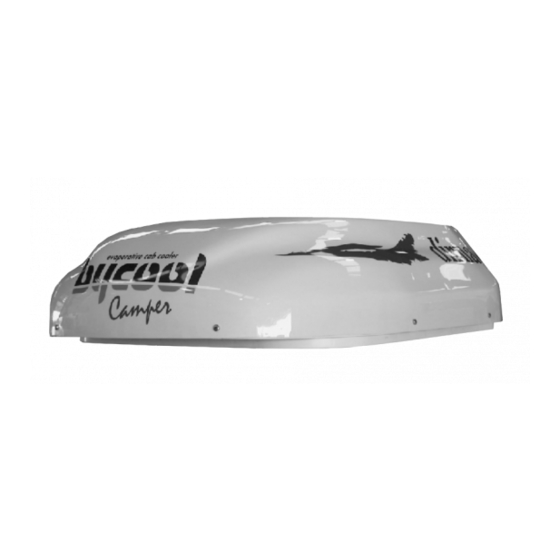
Dirna Bycool Camper Instrukcja montażu - Strona 9
Przeglądaj online lub pobierz pdf Instrukcja montażu dla Klimatyzator Dirna Bycool Camper. Dirna Bycool Camper 20 stron. 12v with remote control

4
- Montar evaporativo desde el exterior y desde el interior,
centrarlo en el corte del techo.
5
- Montar marco, fijando con (4)tornillos rosca chapa y sobre
el marco y a taladros del evaporativo, montar los (2)soportes
sujeción con (4)espárragos M6/100x60, con tuercas y
arandelas planas.
6
- Fijar canalizador a los (2)soportes con (4)tornillos
M4/70x10 y pasar cableados.
7
- Conectar cables al frente y fijar frente con ventanillas sobre
el canalizador montado anteriormente, con (4) M4/70x15.
IMPORTANTE:
DEBERÁN SER ENTREGADOS AL USUARIO: TAPAS
DE INVIERNO, MANUAL DEL USUARIO Y LLAVERO.
SE RECOMIENDA AL INSTALADOR LEER EL
MENCIONADO MANUAL, ANTES DE ENTREGARLO,
PARA INFORMARSE DEL MANTENIMIENTO Y
RECOMENDACIONES SOBRE EL EVAPORATIVO
INSTALADO.
4
- Monter le système d'évaporation à partir de l'extérieur du
véhicule età partir de l'intérieur, le centrer par rapport à la
découpe réali sée dans le toit.
5
- Monter le cadre en le fixant avec (4) vis à filet en tôle et sur
le cadre et aux trous du système d'évaporation, monter les (2)
supports de fixation à l'aide de (4) goujons M6/100x60,
d'écrous et de rondelles plates.
6
- Fixer le système de canalisation aux (2) supports avec (4)
vis M4/70x10 et faire passer les câblages.
7
- Connecter les câbles au devant et fixer le devant avec les
fenêtres sur le système de canalisation assemblé
antérieurement, à l'aide de (4) vis M4/70x15.
IMPORTANT
:
LES PIECES SUIVANTES DEVRONT ETRE REMISES
A L'UTILISATEUR: COUVERCLES D'HIVER, MANUEL
DE L'UTILISATEUR ET PORTE-CLES.
IL EST RECOMMANDE A L'INSTALLATEUR DE LIRE
LE MANUEL MENTIONNE CI-DESSUS AVANT DE LE
REMETTRE AFIN DE S'INFORMER DE L'ENTRETIEN ET
DES RECOMMANDATIONS CONCERNANT
L'EQUIPEMENT D'EVAPORATION INSTALLE
4
. Den Verdampfer von außen und von innen montieren, dabei in der Dachöf fnung zentrieren.
5.
Den Rahmen einsetzen und mit 4 Blechschrauben befestigen. Auf dem Rahmen und an den Bohrungen des Verdampfers mit den 4
Stehbolzen M6/100x60, Muttern und Unterlegscheiben die 2 Halter montieren.
6
. Die Leitungskanäle mit 4 Schrauben M4/70x10 an den beiden Haltern befestigen und die Leitungen durchlegen.
7
. Die Leitungen an Frontteil anschließen und das Frontteil mit Fenstern mit 4 Schrauben M4/70x15 am vorher befestigten Leitungskanal
befestigen.
WICHTIG:
Dem Benutzer muss folgendes übergeben werden: Winterdeckel, Bedienungsanleitung und Schlüsselanhänger
Dem Installateur wird empfohlen, die angeführte Bedienungsanleitung vor der Übergabe zu lesen, um sich
Über die Wartung und Empfehlungen zum eingebauten Verdampfer zu informieren.
4
- Assemble evaporation system from outside and from inside,
centre it on cut made in roof.
5
- Assemble frame, fastening it with (4) sheet thread screws.
Assemble (2) fastening supports on previously mentioned frame and
holes of evaporation system using (4) M6/100x60 bolts, with nuts
and flat washers.
6
- Fasten canalisation system to both supports using (4) M4/70x10
screws and put cables through.
7
- Connect cables to front and fasten front with windows on
canalisation system previously assembled, using (4) M4/70x15
screws.
IMPORTANT:
THE FOLLOWING PARTS WILL HAVE TO BE DELIVERED
TO USER: WINTER COVERS, USER'S HANDBOOK AND KEY-
HOLDER
THE ASSEMBLER IS RECOMMENDED TO READ THE
ABOVE MENTIONED HANDBOOK, BEFORE GIVING IT TO
USER, IN ORDER TO INFORM HIMSELF OF THE
MAINTENANCE AND RECOMMENDATIONS ON THE
EVAPORATIVE EQUIPMENT BEING ASSEMBLED.
4
-
Montare il sistema d'evaporazione dall'esterno e dall'interno,
centrarlo nel taglio del tetto.
5
-
Montare la cornice, fissandola con (4)viti autofilettanti per lamiera.
Sulla cornice sono già esistenti i fori del sistema d'evaporazione.
Montare i (2)supporti di fissaggio con (4) aste filettate M6/100x60, con
dadi e rondelle piane.
6
-
Fissare i canalizzatori ai (2) supporti con (4) viti M4/70x10 e
passare i cavi.
7
-
Collegare i cavi alla scheda dei collegamenti e fissare la medesima
al climatizzatore montato precedentemente, con (4) viti M4/70x15.
IIMPORTANTE:
DOVRANNO ESSERE CONSEGNATI ALL'UTENTE:
CHIUSURE D'INVERNO, MANUALE DELL'UTENTE E CHIAVI
SI RACCOMANDA ALL'INSTALLATORE DI LEGGERE IL
MENZIONATO MANUALE, PRIMA DI CONSEGNARLO, PER
INFORMARSI DELLA MANUTENZIONE E
RACCOMANDAZIONI SUL SISTEMA D'EVAPORAZIONE
INSTALLATO.
9
