Nikon D200 Instrukcja obsługi - Strona 5

Przeglądaj online lub pobierz pdf Instrukcja obsługi dla Akcesoria do kamer Nikon D200. Nikon D200 23 stron. Exploring
Również dla Nikon D200: Broszura i specyfikacje (13 strony), Broszura (7 strony), Instrukcja konfiguracji (2 strony), Broszura i specyfikacje (18 strony), Broszura (14 strony), Specyfikacje (2 strony), Funkcje i tabela porównawcza (1 strony), Podręcznik użytkownika (19 strony), Specyfikacje (2 strony), Skrócona instrukcja obsługi (2 strony), Podręcznik (25 strony), Skrócona instrukcja obsługi (9 strony)
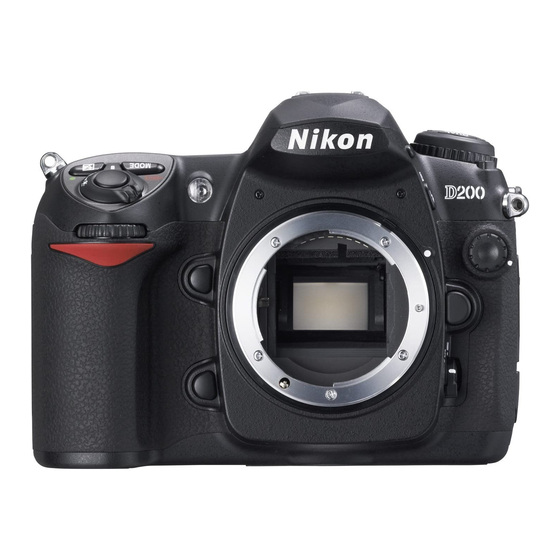
Nikon D200 Instrukcja obsługi
Qual
Button
ISO
Button
Menu
Button
Enter
Button
Reset Camera (push QUAL and +/- buttons simultaneously for 4 seconds)
[Qual button is on the top left of the camera and has a green spot on it. +/- button
is on the right top of the camera and has a green spot on it. LCD display on the
top right of the camera will flicker once during the reset process]
Set ISO Sensitivity to 500
Depress the ISO button on the top left of the camera. The LCD display on the top
right will show the current ISO number. Rotate the Main Command Dial which is
on the top right of the back of the camera until the ISO number reads 500.
Confirm the following camera control settings (see next page for photo)
Focus Mode Selector to C (not S or M) [located camera front lower left]
Metering Selector to Matrix [located right side of view finder, point to middle
icon]
Note: When taking photos on the ground at a specific object, such as a person, use
center-weighted metering. Point to the top icon.
Focus Selector Lock to L position [ring adjustment around cursor control, to
upper right of display screen]
AF Area Mode Selector to Single Area [located to lower right of displays screen,
bottom position selected]
5
Cursor Control
Nikon calls it the
Multi-Selector
Battery
Box