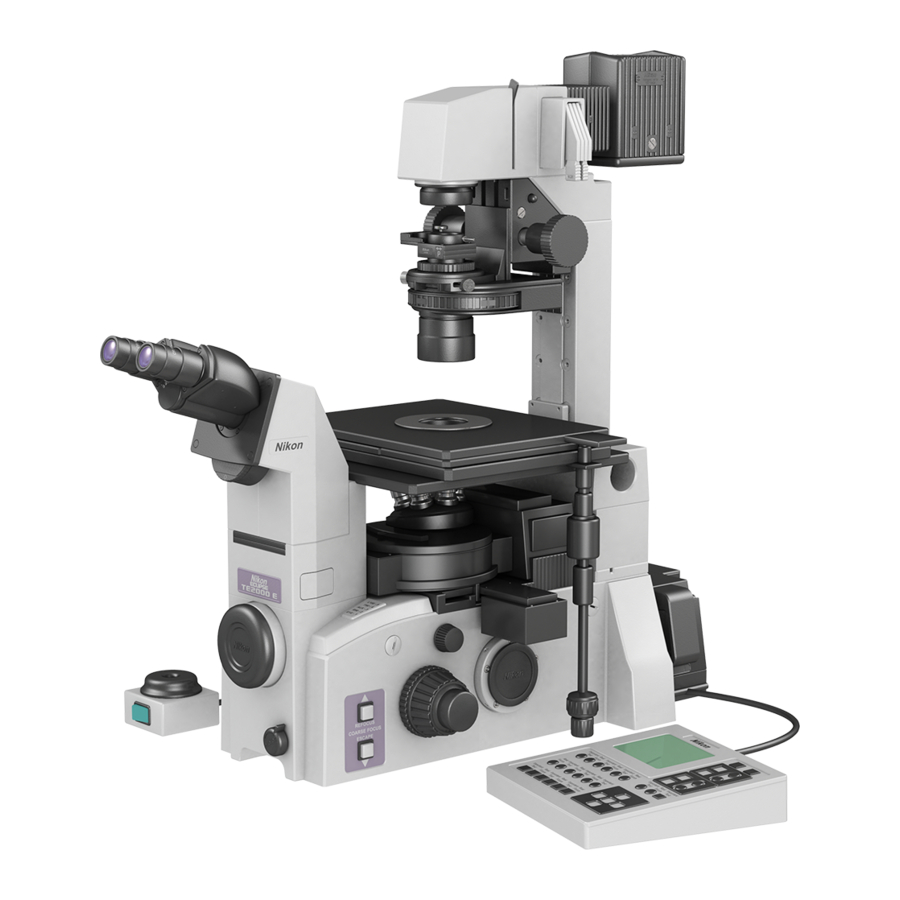
Nikon Elcipse TE2000 Instrukcja obsługi - Strona 3
Przeglądaj online lub pobierz pdf Instrukcja obsługi dla Mikroskop Nikon Elcipse TE2000. Nikon Elcipse TE2000 7 stron. Fluorescent microscope
Również dla Nikon Elcipse TE2000: Podręcznik (12 strony)

2)
TO START THE NIKON COLOUR CAMERA AND CAPTURE IMAGES:
-
Switch on the colour camera power supply by pressing the button on the box
labelled Nikon Sight DS-U1. The Nikon DS-5M colour camera is on the front
port of the Nikon microscope.
-
Turn on the HP computer (PC on the floor under the microscope workbench).
If you are a "Well" user log on to the system and network with your usual
-
username and password. Alternatively, log on to the PC as "User" using "cyto02"
as password or log in as 'generic'.
-
Double-click on the NIS Elements [Basic Research] icon on the desktop:
Scroll down the pop-up camera driver window and choose the 'Nikon DS-U1' for
-
capturing colour images. You can also select the "Hamamatsu ORCA' for
fluorescence B&W image capture
[any camera selected must be switched on].
-
When using the Nikon colour camera, Nikon recommend setting the halogen lamp
brightness to '12V100W [camera]' using the lamp control dial
-
Once you have found an image down the microscope that you wish to take a
picture of, the port/optical path dial (on the right side of the base of the
microscope) needs to be moved to "4" for the colour camera [Port 4 is split
50:50 with the eyepieces]. To view the sample via the microscope eye-pieces only,
return the port to "1".
-
You should see a Camera DS-5M Settings control window (camera controls
differ depending on the camera selected). If that window isn't there, right click
over the non-image area and select 'Acquisition Controls, DS-5M Settings
[Ctrl_Alt_C] to activate it. Or you can also use View, Aquisition Controls, DS-
5M Settings on the main menu.
-
From the main menu, click Live (+)
up a live image window on the screen. The "Live - Fast" dialog box appears. This
Live Fast window is intended to allow you to set the photo exposure time and put
the image in focus while viewing it on the computer monitor
3
Some WTCHG users use IPLabs software with the B&W Hamamatsu Orca for fluorescent
specimens. There is a separate in-house core guide for using this camera with IPLabs software.
4
This sets the lamp to a 'bright' setting. Too low a halogen bulb voltage and the camera image
will appear brown (more red and not enough blue light). For quantitative [comparative] colour
imaging ensure that the halogen lamp brightness is always set to the same level. If the lamp is
too bright push in the [top right] ND16 and ND2 filters to reduce its intensity – this won't affect
the lamps spectral emission [light colour].
5
'Live Fast' can be set to 640x480 pixels or 1280x960 pixels under the resolution tab in DS-5M
settings 'Fast focus. Although video refresh rates are higher at 640x480, the greater resolution
of 1280x960 is more useful for focussing and is often the preferred choice in bright-field.
3
, or 'none' just to view saved images. Click OK
, or select Acquire, Live Fast to open
4
.
5
.
3
