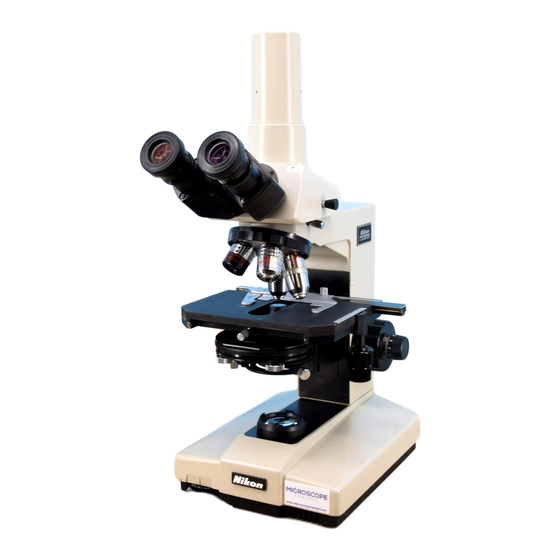
Nikon Labophot Instrukcja obsługi - Strona 19
Przeglądaj online lub pobierz pdf Instrukcja obsługi dla Mikroskop Nikon Labophot. Nikon Labophot 28 stron. Y-r stand biological microscope

VI.
USE OF THE ACCESSORIES
1. Ultra Wide Field Trinocular Eyepiece
Tube "UW"
2. Polarizing Filter Set "PT"
1) Nomenclature (Fig. 22)
Fig. 23
Fig. 22
Polarizer
Analyzer
"
White
~y
index dot~AnaIYZ~r
•
2) Assembly
(1) Attaching the analyzer
After
removing the eyepiece tube, insert
the analyzer into the optical path hole in
the microscope arm. (Fig. 23)
The white index dot is to be brought into
coincidence with
the Y-axis (of X-V co-
ordinates), viewing the arm from above.
(2) Condenser
Use the Swing-out condenser.
(3) Attaching the polarizer
As shown in Fig. 24, fit the polarizer to the
internal
diameter
at the bottom
of the
condenser.
1) Objectives
CF Plan Achromat
2X'"
lOOX, CF Plan Apo-
chromat 2X'"
lOOX, CF Plan Achromat
for
phase contrast 1OX'" lOOX, CF Plan Achromat
for metallurgical
5X '" lOOX, CF Plan Apo-
chromat for metallurgical 50X or CF SO Plan
Achromat for bright and darkfield 5X'"
1OOX
are used.
Fig. 21
2) Condenser
Refer to the Table 1 (P.8).
3) Assembly and microscopy
Assembly
and microscopy
being almost the
same as that of the regular microscopy (P. 6
and P. 8). only the differences will be described
below.
(1) Using the centering telescope
For attaching the centering telescope on
top of the eyepiece sleeve, it is necessary to
use the adapter (Fig. 21), because the tele-
scope which has been originally designed
for
centering
the annular diaphragm in
phase contrast
microscopy,
has a fitti ng
diameter different from that of the CFUW
eyepiece.
t
S--POlarizer
Fig. 24
19
