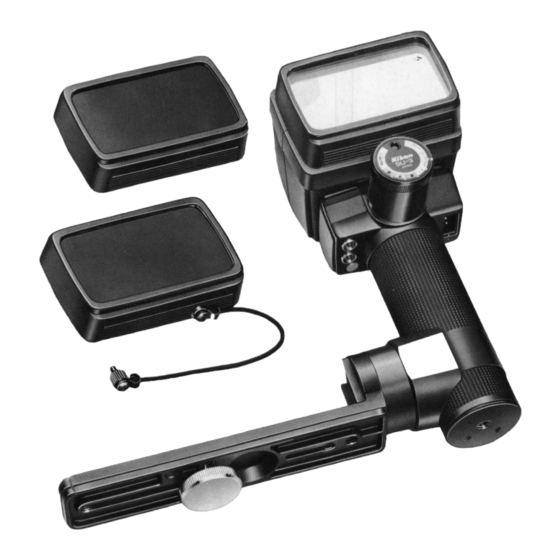
Nikon SB-140 Instrukcja obsługi - Strona 28
Przeglądaj online lub pobierz pdf Instrukcja obsługi dla Lampa błyskowa aparatu Nikon SB-140. Nikon SB-140 39 stron.

TECHNICAL INFORMATION-continued
_ _
Setting Sensor Unit SU-3
3
The Sensor Unit SU-3 controls the operation of the
S8-140. It offers a choice of five
settings.
For automatic operation
The
0,
t::,
and
0
indexes correspond to the
flstop
indi-
cators on the exposure calculator dial. Turn the ring on the
front of the sensor unit to set the
shooting
mode
selector
to the index that corresponds to the
flstop
selected
by the
exposure calculator dial. At these
settings,
the
sensor
~
reads the light reflected from the
subject so the
S8-140
can
automatically vary its light output to match the flash-
to-subject
distance.
Make
sure
that nothing comes between the
sensor and
light
reflected from
the
subject.
For manual operation
Set the SU-3 to FULL or 1/4
,
depending
on
the
amount
of
light
desired.
The S8-140 operates manually
at
its maxi-
mum light output or 1/4 light output regardless of
flash-to-
subject
distance.
The SU-3
can be attached
to Nikon Speedlight S8-14 or
S8-11 to enable
firing
of the
flash
unit
at
1/4
of
its
full
output.
28
When shooting a dark subject (one with low
reflec-
tivity),
reduce
the
aperture selected
by one-half
to one
full flstop.
When the
subject is
light
in
tone
(has high re-
flectivity),
reset
the aperture
so
it is
one-half
to one full
flstop wider.
Otherwise,
your
pictures
might come
out
over- or
underexposed.
When shooting a subject with very high
reflectivity,
such as a
mirror
or
metallic
surface,
take pictures on
manual to prevent
underexposure.
For fill-in flash photography
Make sure
the scene
brightness
does
not
exceed
the
ex-
posure
value
determined by the
combination of the
shutter
speed
(synchronization
speed)
and
the selected
aperture.
Detaching the Sensor Unit
Push in
the two protruding catches at the
base
of the
SU-3 and
pull
out
the
SU-3
Sensor Unit.
