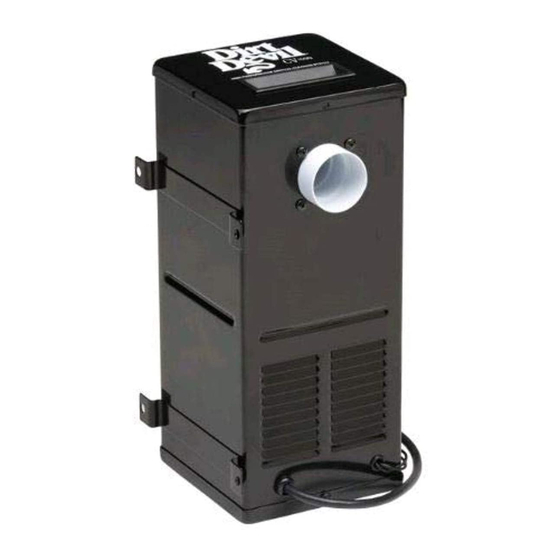
Dirt Devil CV1500 Instrukcja obsługi - Strona 5
Przeglądaj online lub pobierz pdf Instrukcja obsługi dla Odkurzacz Dirt Devil CV1500. Dirt Devil CV1500 13 stron. Central vacuum systems
Również dla Dirt Devil CV1500: Instrukcja szybkiej instalacji (2 strony)

CV1500 OPERATING INSTRUCTIONS
Inserting hose into valve (Fig.B). Lift lid on
valve. Power unit will automatically come
on. Insert hose into valve. Connect desired
attachment and you are ready to vacuum.
Changing Bag (Fig. B). To keep your
CV1500 at top efficiency, change the filter
bag at regular intervals. Since cleaning
schedules differ, check frequently in the
beginning to determine proper interval.
To maintain cleanability, replace filter bag
when it is 2/3 to 3/4 full.
To Change the Filter Bag (Fig.B).
Locate canister, lift lid and pull bag collar
off connector. Open new bag, (expand
pleats by gently pulling on the bag). Slide
collar securely onto the inlet connector.
(See Fig.B) Replace with Bag #9597. To
reorder, check bag for instructions or go
to www.rvbags.com
To remove secondary #4929 Filter
& #4928/4934 Filter Supports for
Cleaning (Fig.B) Take out bag #9597,
pull support 4934 off connector and out
of canister. Take out 4929 & 4928. For
reassembly, follow instructions in reverse
order.
NOTE: 4929 filter wraps to front of 4928
filter support (Fig.B).
CV1500 INSTALLATION INSTRUCTIONS
WARNING: This unit must be installed in an accessible area with interior vent (Fig D).
AVERTISSEMENT: Cet unité devrait être installé dans un endroit bien aéré et accessible
afin d'éviter la surchauffe de L'appareil.
The Dirt Devil® CV1500 can be installed in any one of four configurations. Figures C, D & E illus-
trate three configurations, with C being the most common. The one not shown is a variation of D.
1. Locate unit centrally so that area to be
cleaned can be conveniently reached
with standard 20' or 30' hose. Also lo-
cate near grounded electrical receptacle
for easy plug-in connection of motor
cord. Route supply cord so that it
doesn't rest against sharp edges or pinch
points. See grounding instructions on
page 3.
NOTE: This appliance has a THERMAL
PROTECTOR built into the motor to prevent
overheating. If motor will not operate, pull
power cord plug out of receptacle then
reinsert to reset.
If motor brushes or bearings are worn out,
the thermal protector will trip off again
after a short period of time. If this happens,
service for this and any other servicing
should be performed by an authorized
service representative.
2. All dimensions that follow are
approximate. To determine best
configuration for your installation,
temporarily install unit for best
valve location. Be sure there is
clearance to remove top cover and
filter bag.
continued onto next page
4
9597 Bag
Figure: B
