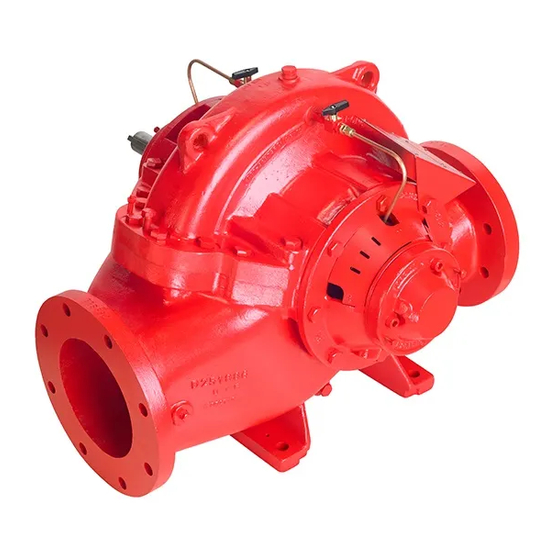
Armstrong 4600 HSC series Instrukcja instalacji i obsługi - Strona 4
Przeglądaj online lub pobierz pdf Instrukcja instalacji i obsługi dla Pompa wodna Armstrong 4600 HSC series. Armstrong 4600 HSC series 16 stron. Horizontal split case fire pumps. 12x8x18f

i n s ta l l at i o n &
o p e r at i n g i n s t r u c t i o n s
4
i nstall at i on and o pera ting ma nual
ho ri zo n tal s pl it c as e f ire pu mps
The innovative Armstrong Series 4600 hsc pump is designed
to allow easy maintenance. The pumps same level suction
and discharge permits easy-piping layout and pump installation.
Design features, such as bearing removal with no special
tools, will make the reliable hsc pump a trouble-free pump for
many years.
Armstrong series 4600 hsc pumps are thoroughly tested and
inspected before shipping, but should be carefully examined for
possible damage during transit. Contact your Armstrong repre-
sentative and the transport company immediately if there is any
evidence of mishandling.
embedded anchor bolt
¾" 4" long minimum
grout
grout
forms
Horizontal split case
fire pumps
wedges
foundation
• install foundation bolts
• install grout forms
• fill in base with grouting
1.0. installation
1.1
location and storage
• Locate the unit in a dry place as near the city water en-
trance as practical with a short, direct suction pipe
• Shaft should be rotated by hand 10 to 15 revolutions every
one to three months depending on storage conditions
1.2. foundation for hsc pump
• Foundation should be sufficiently substantial to absorb
any vibration and to form a permanent, rigid support for
the base plate
• Foundation bolts of suitable size should be embedded in
the concrete located by a drawing or template
• Place pumping unit on foundation with wedges under
base plate leaving approximately ¾" space for grouting
• Carefully level the unit by adjusting the wedges until
shafts of pump and driver are leveled, recreating factory
alignment
• Check coupling faces as well as suction and discharge
flanges of pump for horizontal or vertical position with
a level
• Slight misalignment at this point may be corrected by
adjusting the wedges
After unit has been in operation for about a week, check align-
ment. Any misalignment may be corrected by placing shims
between base and driver or pump feet.
1.3. pump mounting and piping
• Never connect a pump to piping, always start piping
from pump
• Use as few bends as possible and preferably long
radius piping
• Install good supports under suction and discharge piping
with anchors near but independent of the pump
• Make sure piping exerts no strain on pump as this would
throw the unit out of alignment or distort the casing
