Disaster Area Designs SMARTClock Gen3 Podręcznik użytkownika - Strona 8
Przeglądaj online lub pobierz pdf Podręcznik użytkownika dla Kontroler Disaster Area Designs SMARTClock Gen3. Disaster Area Designs SMARTClock Gen3 9 stron.
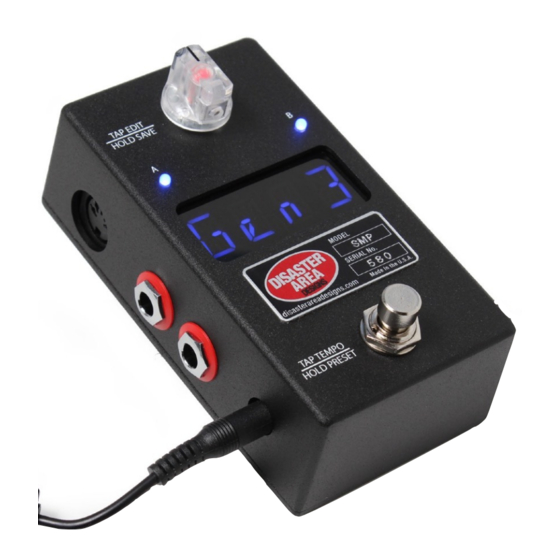
MultiJack Setup
The two white jacks on the right side of the SMARTClock Gen3 are our amazing MultiJacks. These jacks are normally set up to
function as tap tempo or remote switch outputs, but they may also be set up to work as footswitch inputs our MIDI outputs.
In order to configure these jacks, you will need to set them up in both the Setup Menu as well as setting the hardware DIP
switches in the SMARTClock.
To configure the MultiJacks, launch the Setup Menu and navigate to MJ C or MJ D. Select from the following options:
N-O:
the MultiJack will act as a normally-open tap tempo output. (default setting)
N-C:
the MultiJack will act as a normally-closed tap tempo output (suitable for Boss pedals)
TOGG: the MultiJack will act as a remote switch contact, for amplifier or effect control
MIDI:
the MultiJack will function as a MIDI output (REQUIRES DIP SWITCH CHANGE)
FTAP:
the MultiJack will function as a dual foot-switch input. The TIP of the jack serves as tap tempo, RING starts or stops the clock
FPRE:
the MultiJack will function as a dual foot-switch input. The TIP advances one preset, the RING decreases one preset
DIP Switches
Inside the SMARTClock Gen3 you'll find three banks of DIP switches. The single switch bank on the right activates the pull-up
functions for each jack. These are needed to connect to Strymon EXP ports or for certain other applications. The two banks of
switches on the left configure the MultiJacks.
To use the MultiJack for tap tempo, remote switching, set the switches to OFF-OFF-OFF-ON.
To use the MultiJack for MIDI output, set the switches to ON-ON-ON-OFF.
If you are using your SMARTClock to send taps or as a Favorite switch with the EXP port on Strymon pedals:
Connect the Strymon pedal to the SMARTClock using a TRS Cable.
Set the pull-up DIP switch for the jack you are using to ON (up.)
The pull-up switches are labeled ABCD and correspond to the printed labels on the SMARTClock output board.
If you are using your SMARTClock to send taps to a Strymon pedal that has been modified by adding a tap tempo input, such as an El
Capstan:
Connect the Strymon pedal's modified TAP jack to the SMARTClock using a TRS cable.
Set the pull-up DIP switch for the jack you are using to OFF (down.)
Disaster Area Designs
SMARTClock
Gen3
8
of
9