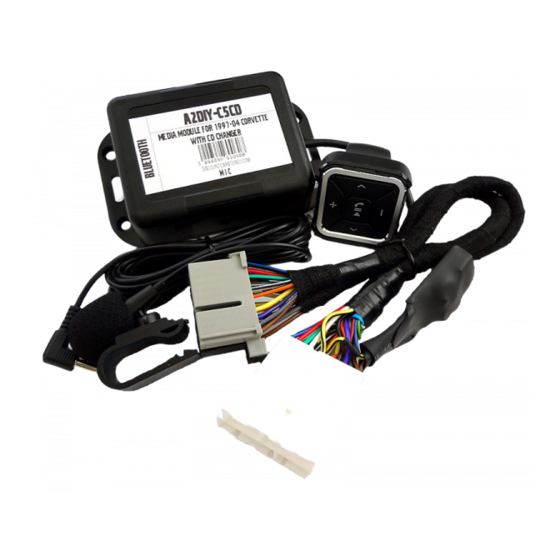
Discount Car Stereo A2DIY-C5CD Skrócona instrukcja instalacji - Strona 3
Przeglądaj online lub pobierz pdf Skrócona instrukcja instalacji dla Samochodowy system stereo Discount Car Stereo A2DIY-C5CD. Discount Car Stereo A2DIY-C5CD 10 stron. Bluetooth kit for 1994-07 corvette
Również dla Discount Car Stereo A2DIY-C5CD: Instrukcja instalacji (10 strony), Skrócona instrukcja instalacji (10 strony)

Trunk/hatch mounted 12-disc changer
Playback options explained
These options are available at checkout:
1. Retain changer playback (default)
2. Auxiliary input (instead of changer playback)
3. Auxiliary input + changer playback (both)
Retain Changer playback
Default option that allows users to retain use of their 12-disc changer.
Proceed to installation step 4.
AUX input
(instead of changer playback)
This option allows users to connect and play a portable audio device (e.g.
sat radio, Alexa, iPod, Mp3 etc.) instead of 12-disc changer)
WARNING: The required CD changer remains connected but will no
longer play. (At least one disc must be loaded to magazine)
1.
Connect included 3.5mm audio cable (See Fig. 4) to module "AUX" jack
2. Route audio cable plug to where audio device will reside (within 3 ft.)
Proceed to installation step 4.
3.
:
:
AUX Jack+ changer playback
With this option, AUX plus 12-disc changer playback are possible.
1.
Route installation harness aux jack (See Fig. 5) to glove box, dash area
etc. (cable is 3 ft. long)
2. Drill a ¼" hole in dash or panel and secure jack with included nut or
leave freestanding.
3. To listen to audio device (e.g. Mp3 player) simply connects to jack. To
listen to the CD changer, disconnect audio device from jack
must be empty during changer
Proceed to installation step 4
Module
Fig. 4
3.5male to male audio cable
Fig. 5
(jack
playback).
