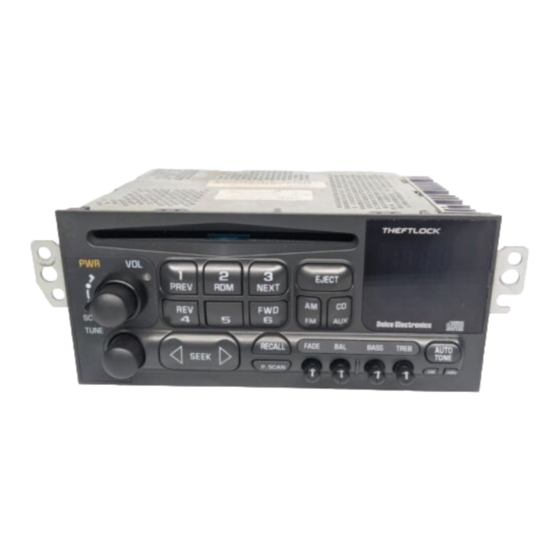
Discount Car Stereo A20-C5 Instrukcja instalacji - Strona 2
Przeglądaj online lub pobierz pdf Instrukcja instalacji dla Odbiornik Discount Car Stereo A20-C5. Discount Car Stereo A20-C5 8 stron. Bluetooth hands-free, music streaming + aux input kit for 1997-04 c5 corvette

PRODUCT SAFETY & DISCLAIMER
READ ALL INSTRUCTIONS CAREFULLY BEFORE INSTALLING, FAILURE TO DO SO MAY CAUSE
PERSONAL INJURY OR DAMAGE TO PRODUCT AND/OR PROPERTY
•
This installation guide is provided as a GENERAL installation guide, some vehicles vary and
may require additional steps. We do not accept responsibility for third party labor charges
or modifications. Exercise due-diligence when installing this product.
•
We do not accept any responsibility for vehicle damage or personal injury resulting from
the installation of this product.
Careless installation and operation can result in equipment damage
•
Introduction:
Safety comes first when you're on the road, so having an intuitive and easy to
use Bluetooth kit is essential to reducing driver distraction. The C5-HF kit is
compatible with virtually all Bluetooth phones, and sounds great for mobile
conversations, streaming music or AUX device. In addition, a USB "Fast
charging" port is included to keep devices charged while on the road. A push
button with built-in microphone conveniently installed on the dash is used to
launch Voice recognition applications (Siri, Google Now, Assistant etc.),
initiate/end phone calls, launch applications and more.
Note: This kit works in C5 without 12-disc changer (or if changer
malfunctions) Vehicles with functional 12-disc changers (or to retain CD
changer playback); purchase our
See Frequently Asked question at the end of this guide for more details.
Installation
: (To radio)
Remove radio from dashboard to gain access to connector. (
section and the end of this guide for details) or click the following link:
https://www.youtube.com/watch?v=WTbWYNJTSDs
1.
Press release tab on 20-pin plug to disconnect from radio (See Fig. 1)
.
C5CD-HF
or
A2DIY-C5CD
instead.
See FAQ
Fig. 1
Radio 20-pin connector
2. Connect 20-pin plug from step 1 to installation harness 20-pin
connector (white) (See Fig. 2).
Fig. 2
installation harness
3. Connect installation harness 20-pin plug (black/gray) (See Fig. 2) to
radio 20-pin connector vacated in step 1
4. Connect included 3.5mm male-male cable (See Fig. 3) to "AUX" input
jack on module (See Fig. 4), and other end to aux device (within 3 ft.)
