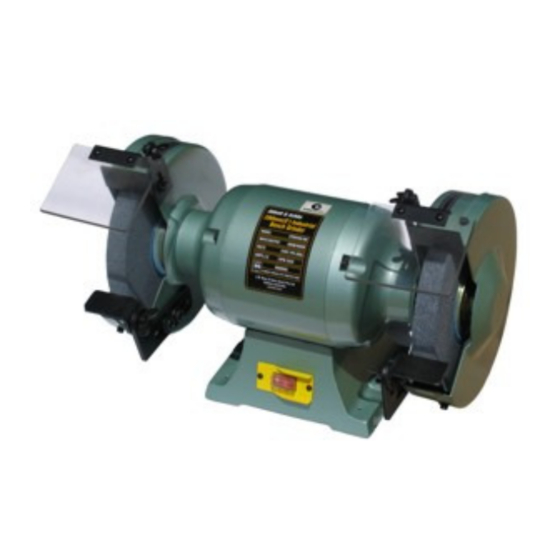
Abbot & Ashby ATBG600/8 Podręcznik - Strona 7
Przeglądaj online lub pobierz pdf Podręcznik dla Szlifierka Abbot & Ashby ATBG600/8. Abbot & Ashby ATBG600/8 8 stron.

ATBG600/8 Bench Grinder
GETTING STARTED
ACCESSORIES
The bench grinder is supplied with the following accessories:
2 eye shields with mounting brackets and 2 tool rests
CAUTION. Always ensure that the bench grinder is switched off and plug is removed from the
power point before making any adjustments.
To fit the eye shields locate the nut, screw and washers provided through the slot in the eye
shield and hole on the grinding wheel guard and finger tighten. Position the eye shield so it does
not come in to contact with the grinding wheel. Tighten the nut and screw to secure the eye shield
in place.
Attach the tool rests using the bolts and securing knobs provided and adjust to the correct
position. The gap between the tool rest and grinding wheel should be set to 2mm.
BENCH MOUNTING
The Grinder can be secured with screws or nuts and bolts. Locate the mounting holes. The length
of the bolts or screws will depend on the thickness of the bench. Where a steel bench is used it is
best to mount the grinder on to a board, then attach the board to the bench, this will also minimise
vibration.
SWITCHING ON AND OFF
Before connecting to the power supply rotate the wheel by hand to ensure that it is running free
from obstruction. Connect to the mains supply and press the rocker switch to the ON position (l).
To stop the machine simply press the rocker switch to the OFF position (o).
GENERAL INSPECTION
Regularly check that all the fixing screws are tight. They may vibrate loose over time.
7
