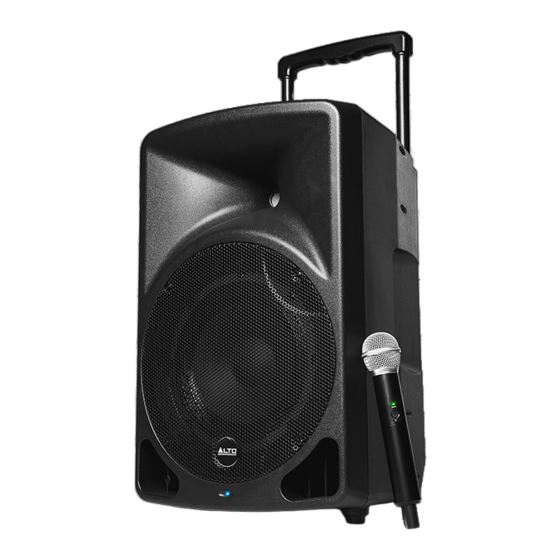
Alto Professional Transport 12 Podręcznik użytkownika - Strona 4
Przeglądaj online lub pobierz pdf Podręcznik użytkownika dla Głośniki Alto Professional Transport 12. Alto Professional Transport 12 15 stron.

Features
Rear Panel
1. Power Input (IEC): Use the included
power cable to connect this input to a
power outlet. Make sure the speaker's
power switch is set to "off" when
connecting or disconnecting the cable.
2. Fuse Holder: If the unit's fuse is broken,
lift this tab to replace the fuse. Replace it
with a fuse with an appropriate rating
(printed on or near the fuse holder). Using
a fuse with an incorrect rating can damage
the unit and/or fuse.
3. Power Switch: Use this switch to power
the loudspeaker on/off. Make sure all
volume knobs are set to "zero" before
powering it on. Set this switch to
Recharge if you are charging its internal
battery but not using it.
4. Power Light: This light will illuminate
when Transport 12 is powered on.
5. Battery Level Indicator: These lights
show the current amount of life in
Transport 12's internal battery. When only
the Low light is lit, connect Transport 12's
power input to a power outlet to recharge
its battery.
6. Recharge Indicator: This light will be red
when Transport 12's internal battery is
charging.
When
charged, the light will be green.
7. Mic/Line 1 Input (XLR or 1/4"/6.35 mm):
Use a standard 1/4" (6.35 mm) TRS or
XLR cable (not included) to connect an
audio source to this input. Use the
Mic/Line 1 Volume knob to adjust the
level.
8. Mic/Line 1 Selector: Press this button to select whether the Mic/Line 1 Input is
connected to a line-level audio source (the raised position) or a microphone (the
depressed position).
9. Mic/Line 1 Volume: Turn this knob to adjust the volume of the Mic/Line 1 Input.
10. Voice Priority: Press this button to activate or deactivate the voice priority feature. When
active (the depressed position), if the Mic/Line 1 Input or the wireless microphone
receives an audio signal, the volume level of all other audio sources will be lowered
("ducked") so the incoming signal can be heard better. When inactive (the raised position),
all other audio sources will remain at their set volume levels. See
Wireless Microphone
6
the
battery
is
and
Using Microphones & Other Audio Sources
11
9
8
7
10
fully
12
13
12
14
16
25
26
15
24
17
18
19 20 21
3
Operation > Using the
to learn more.
5
6
4
23
22
1
2
