Camfil FB Series Instrukcja instalacji, obsługi i konserwacji - Strona 6
Przeglądaj online lub pobierz pdf Instrukcja instalacji, obsługi i konserwacji dla Systemy filtracji wody Camfil FB Series. Camfil FB Series 20 stron. Fluid seal bag-in/bag-out

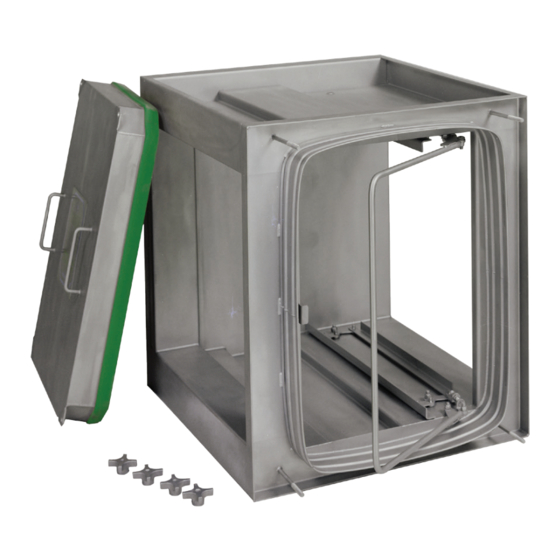
Installation Of Filtration Housing
1. Check filtration housing for loose items that may have been stored inside during shipment. Remove any
loose items which are present. All loose items should be inventoried and stored in a controlled
environment along with filter(s)/adsorber(s). These items should remain in the controlled environment, in
there original boxes until installed.
2. To allow for filter(s) installation and change-out, a minimum of four (4) feet of clearance in front of access
door(s) is recommended.
3. The filtration housing must be installed in the correct orientation. Be sure the direction of airflow and the
position of the housing access door(s) is correct prior to installation of ductwork to filtration housing. To
determine the direction of access, imagine that you are standing on the upstream end of the housing,
with the airflow striking your back. If the door is on your left, the housing is left hand access. If the door
is on your right, the housing is right hand access.
4. The ductwork should be permanently installed to the filtration housing and sealed to prevent leakage
between the ductwork and filtration housing. All sections of the filtration system, including fans,
dampers, etc. should be complete and ready for operation. The overall filtration system should be
securely mounted to a curb, base, or structural support.
5. Following installation of the ductwork and filtration housing, the system should be cleaned to remove
dust or debris before installing new filter(s)/adsorber(s) into the system.
Installation Of New Filter(s) or Adsorber(s)
1. Check for correct model number, quantity, type, and size of media.
2. Unpack the filter/adsorber in accordance with Camfil's recommended instructions. Rest filter on floor
and cut open taped seam with utility blade (set blade to 1/8" max.). Open box and bag(s) protecting
filter/adsorber. Pull excess bag(s) over the edge of the box. Turn box over carefully holding flaps away
from filter/adsorber, so filter/adsorber will rest on the floor. Lift box and bag(s) from filter/adsorber.
3. Take extreme caution when removing HEPA filters from their boxes. Handle only the exterior frame of
the filter. Touching the filter face can damage the media, adversely affecting the filter's performance and
efficiency.
4. Visually inspect the filter/adsorber frame and media for damage prior to installation.
Open filter/adsorber box.
Turn box over.
Prior To New System Start-Up
Filter/adsorber should rest on floor.
Remove box and packaging..
6
