ClearClick Video 2 Digital Podręcznik użytkownika - Strona 2
Przeglądaj online lub pobierz pdf Podręcznik użytkownika dla Konwerter mediów ClearClick Video 2 Digital. ClearClick Video 2 Digital 3 stron.
2. Hook up a Video Source: Use the provided RCA/AV cable or an S-Video cable
(not provided) to connect the ClearClick to a video source.
3. Changing the Video Source:
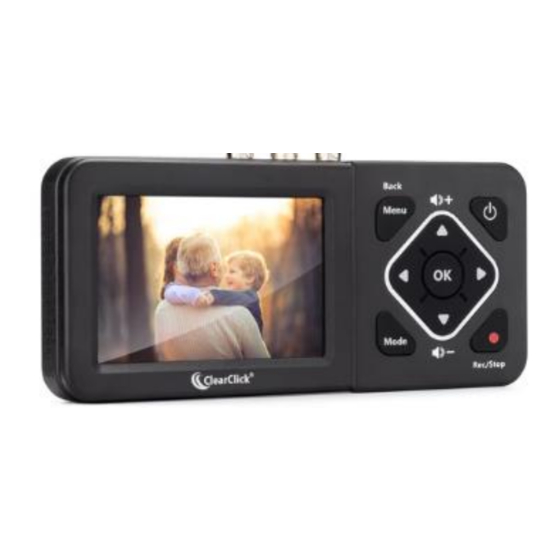
a. Press the Menu button to access the Menu screen.
b. Use the arrow buttons to navigate to the Video Source menu item, then
press OK.
Note: You should see a Video Source menu pop-up on the screen.
c. Select the video input option that you are using, then press OK.
d. Press the Menu button again to exit the menu screen.
4. Plug in a Storage Device: Insert a USB flash drive or an SD card (Max. 128
GB) into the ClearClick.
5. Turning On or Off the Time Watermark:
Note: This function adds a watermark to recordings that displays the date and
time of the recording.
a. Press the Menu button to access the Menu screen.
b. Navigate to the Time Watermark menu item, then press OK to turn the
function on or off.
c. Press the Menu button again to exit the menu screen.
Note: This function is off by default.
6. Setting the Date and Time:
Note: This option is only necessary if you choose to use the Time Watermark
function.
a. Press the Menu button to access the Menu screen.
b. Navigate to the System Date/Time Setting menu item, then press OK.
Note: You should see a Date/Time Setting menu pop-up on the screen.
c. Change the date and time using the arrow buttons.
d. Press the OK button once you have set the minutes to confirm the date
and time.
e. Press the Menu button again to exit the menu screen.
Note: The date and time settings will reset to default when the device is powered
off and unplugged.
7. Recording mode:
Note: The ClearClick defaults to recording mode when it is first powered on.
2