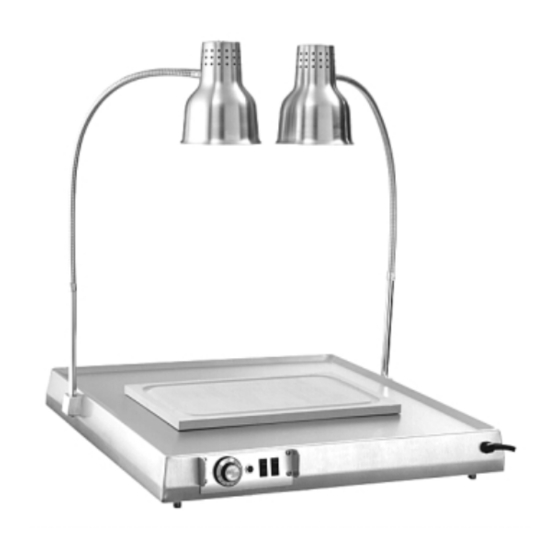
Alto-Shaam Hot Carving Shelf 100-HSL/BCS-2 Instrukcja instalacji, obsługi i konserwacji - Strona 3
Przeglądaj online lub pobierz pdf Instrukcja instalacji, obsługi i konserwacji dla Podgrzewacz do żywności Alto-Shaam Hot Carving Shelf 100-HSL/BCS-2. Alto-Shaam Hot Carving Shelf 100-HSL/BCS-2 16 stron. Hot carving shelf, electric
Również dla Alto-Shaam Hot Carving Shelf 100-HSL/BCS-2: Arkusz specyfikacji (2 strony), Instrukcja instalacji i obsługi (20 strony), Instrukcja instalacji, obsługi i konserwacji (19 strony)

Carving Holder
Prime Rib . . . . . . . . . . . . . . . . . . . . . . . . . . . . . . . . . . . . . . . . . . . . . . . . . . . . . . . . . . . . . . . . . . . . . . . . . . . . . .HL-2635
Steamship or Cafeteria Round . . . . . . . . . . . . . . . . . . . . . . . . . . . . . . . . . . . . . . . . . . . . . . . . . . . . . . . . . . . . . . . .4459
Carving Shelf Mounting Adapter . . . . . . . . . . . . . . . . . . . . . . . . . . . . . . . . . . . . . . . . . . . . . . . . . . . . . . . . . . . . .16237
Cutting Board, with gravy lane, 18" x 24" x 1/2" (457mm x 610mm x 13mm) . . . . . . . . . . . . . . . . . . .BA-2054
Cutting Board, with gravy lane, 18" x 12" x 1/2" (457mm x 305mm x 13mm) . . . . . . . . . . . . . . .BA-2358
Using Stacking Platform from
kits 16222 or 16237
to provide carving shelf:
1. Remove the three screws in the top plate at the
front of the cabinet.
2. Remove the three screws in the back plate near the
top of the cabinet.
2. Position the stacking platform on top of the unit
with the flange in front, aligning the holes in the
platform over the holes in the cabinet.
3. Reinstall the cabinet screws removed in steps 1 and 2
through the platform holes to attach it to the cabinet,
front and back.
4. Place the carving shelf on the stacking platform.
I N S T A L L A T I O N
28-1/8" (714mm)
26-1/8"
(664mm)
1" (25mm)
FOR LEGS
100-HSL/BCB-2
100-HSL/BCS-2
100-HSL/BCS-2S
Options and Accessories
Step 1
#802/1 Operation & Care Manual •
Exterior Dimensions
2.
Step 2
