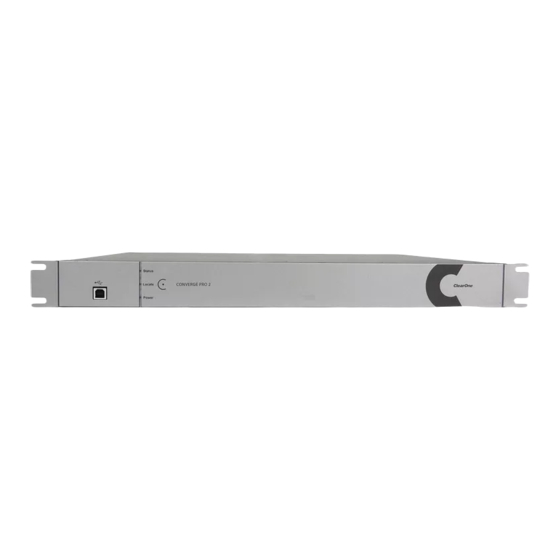
ClearOne CONVERGE PRO 2 Skrócona instrukcja obsługi - Strona 8
Przeglądaj online lub pobierz pdf Skrócona instrukcja obsługi dla System konferencyjny ClearOne CONVERGE PRO 2. ClearOne CONVERGE PRO 2 12 stron. Next generation audio dsp platform
Również dla ClearOne CONVERGE PRO 2: Skrócona instrukcja obsługi (9 strony), Instrukcja instalacji (11 strony), Skrócona instrukcja obsługi (8 strony)

CONVERGE PRO 2 GPIO EXPANDER
Mark location where you want to route cables through with a pencil
(on finished side of the ceiling tile) if you need to cut a hole.
2.
Remove affected ceiling tile and adjacent tiles required for access.
3.
Install fasteners/anchors.
4.
Install expander unit at determined location.
5.
Use drywall saw to cut hole into finished side of ceiling tile at
marked location.
6.
Route the cables through the hole.
NOTE: Carefully run connected cables so they do not block the
cooling vents or put strain on the connectors.
NOTE: Anchors and screws used to mount the expander are not
provided and must be selected by installer for the type of ceiling
material supporting the expander. Take care while drilling and installing
anchors so ceiling material does not tear out and weaken attachment.
CONNECTIONS
Connect the GPIO expander to:
•
Peripheral Link (P-Link) or Power-over-Ethernet (PoE) power injector
with a CAT5e or CAT6 cable,
•
Third-party systems and devices with GPIO inputs and outputs via
the 5 Position Terminal Block Plug 3.81mm GN connectors,
•
A remote control serial device (such as ClearOne's Touch Panel
Controller, or any 3
6
Position Terminal Block Plug 3.81mm GY connector.
-party controller) with the RS232 port via the 3
rd
