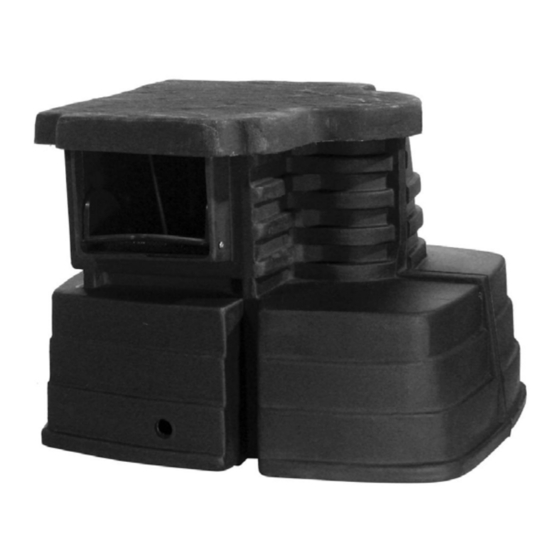
Clearpond Melody Instrukcje instalacji - Strona 2
Przeglądaj online lub pobierz pdf Instrukcje instalacji dla Filtr basenowy Clearpond Melody. Clearpond Melody 4 stron.

Dig a pocket for the skimmer on the edge of the pond. Over dig
the pocket by at least 10cm in all directions to ensure plenty of
room for the skimmer.
Level the pocket in all directions. Establish the water level for
the pond, then the proper placement and height for the
skimmer.
The skimmer should be set so the ideal water level is 3cm
below the top of the skimmer face plate window (see
letter A). This allows for fluctuation of the water up and down.
These measurements are from the base of the skimmer, up to
the surface water level. The measurements at right should be
followed when excavating the pocket.
Step Two – Installing Liner and Underlay.
Before installing the underlay, be sure to check over the
pond bottom really well to get rid of any sharp rocks, sticks or
any other object that could puncture the liner.
Carefully install the protective underlay. Work the wrinkles
out of the bottom of the pond. Lay folds flat against the side wall.
Repeat for the liner. Again, work the wrinkles out of the pond
floor. Lay the liner neatly in the pocket for the skimmer.
Step Three – Installing the Skimmer.
Set the skimmer in the pocket. Double check to make sure it is level in all
directions.
Stack a few courses of stones up the front of the skimmer to lock it in
place and prevent movement during the backfilling process.
Fold the liner and underlay back towards the pond, to reveal the void
spaces created when digging the skimmer pocket. Backfill around the
skimmer with soil in 4" to 6" increments. Compact the soil around the
skimmer using the end of the shovel or a 2 x4.
Water Level
A
Eco
= 30 cm
Melody = 46 cm
Ovation = 55 cm
