Altronics Redback A 4510 Podręcznik programowania oprogramowania - Strona 10
Przeglądaj online lub pobierz pdf Podręcznik programowania oprogramowania dla Timer Altronics Redback A 4510. Altronics Redback A 4510 16 stron. Yearly timer
Również dla Altronics Redback A 4510: Instrukcja obsługi (12 strony)

To make the programming of the events easier, default durations can be setup for the outputs. For instance you may require
the Bell to always activate for three seconds. The default duration can be set to 3 seconds and hence whenever the Bell is
selected as the output for an event, the duration will automatically default to 3 seconds. (Note: This can still be modified to
any time). To set the defaults refer to section 4.0.
We will now enter the rest of the events for the school day as shown below. The Bell output has been selected for the rest
of the events for the day, including morning recess, end of recess, lunch, end of lunch and end of the day.
NOTE: If we had an event we wanted to create which was similar to another event already programmed, we could copy this
event and then make changes. This can be achieved by using the "Duplicate Event" option (refer to section 5.0 for more
details).
We will save the calendar configuration again by navigating to the "File" menu in the top left corner and selecting "Save".
NOTE: When the save button is pressed the configuration will be saved to the root directory from which the software was
run. In our case we ran the software directly from the SD card, so all configuration information will be saved to the SD
card. If we wish to save the configuration elsewhere we could use the "Save As" option which would allow us to navigate
to another folder. There is no option to save the configuration with a preferred name.
The configuration file is saved to the CONFIG folder and the event group information is saved to the GROUPS folder.
With the events for the Standard School Day entered, its now a matter of entering the events for the other Event groups
following the same procedure.
Make sure the configuration is saved and then remove the SD card from the Windows based device following windows safe
card removal procedures. Make sure the A 4510 is OFF and insert the SD card into the slot in the rear; it will click when fully
inserted.
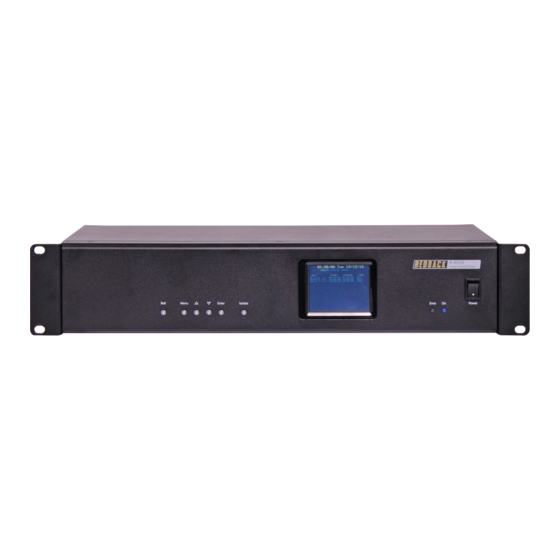
The A 4510 can now be switched On. If all is well, after the startup screen is displayed the current time and list of the events
should be displayed on the screen.
10
Redback® Proudly Made In Australia
A 4510 Software Programming Guide
Fig 14
www.altronics.com.au
