dji X9-8K Skrócona instrukcja obsługi - Strona 6
Przeglądaj online lub pobierz pdf Skrócona instrukcja obsługi dla Akcesoria do kamer dji X9-8K. dji X9-8K 10 stron.

Activating DJI Ronin 4D
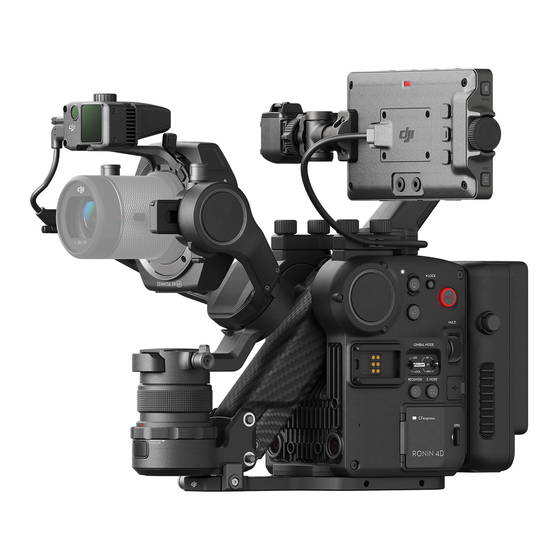
Ronin 4D needs to be activated through DJI Assistant 2 (Ronin Series) before using for the first time. Follow the steps below
to activate Ronin 4D:
1. Before powering on Ronin 4D, make sure GIMBAL MODE is toggled to FOLLOW or LOCK, the LOCK switch is in the unlocked position,
and the three axes of the gimbal are unlocked. Otherwise, Ronin 4D cannot work properly. Press and hold the power button for 1 second to
power on Ronin 4D.
2. Use the provided USB-A to USB-C cable to connect the USB-C port on the main body with a computer. Launch DJI Assistant 2 (Ronin
Series), select Ronin 4D, and follow the steps to activate.
Auto Tune
Make sure to auto-tune Ronin 4D before using to ensure optimal performance. Tap HOME on the high-bright main monitor and select
Stabilizer, then Gimbal Calibration, and Auto Tune.
Make sure DJI Ronin 4D is placed on a flat and steady surface before auto-tuning. It is normal for the gimbal to vibrate and make sounds
during auto-tune.
Ronin 4D must be auto-tuned every time the camera lens is changed.
USB-C port
HOME Button
DJI Ronin 4D Quick Start Guide
LOCK
GIMBAL MODE
OFF
FOLLOW
LOCK
©
2021 DJI OSMO All Rights Reserved.
5
