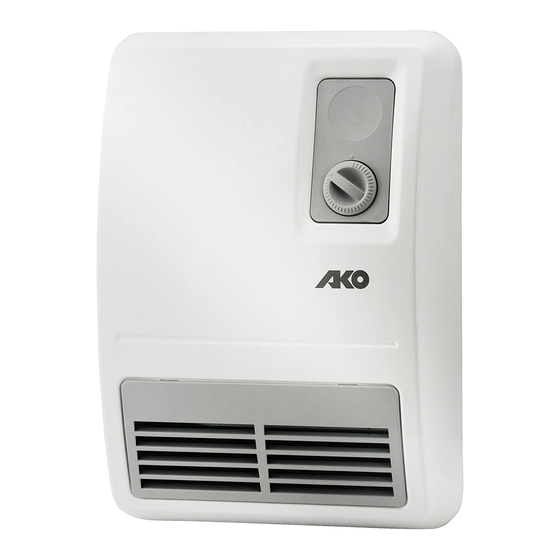
AKO H 260/4 Instrukcja instalacji i obsługi - Strona 6
Przeglądaj online lub pobierz pdf Instrukcja instalacji i obsługi dla Grzałka AKO H 260/4. AKO H 260/4 16 stron.
Również dla AKO H 260/4: Instrukcja instalacji i obsługi (4 strony)

H 260/4
2. Technical data
Heat output
Supply voltage
Degree of protection
Safety class
Dimensions (W x H x D)
Weight
3. Installation
The heater must only be installed and operated on a
vertical wall as shown.
Installation below a wall socket is not permissible.
The device plug must be accessible after installation.
It is not permissible to install the device in protection
zones as defined in the relevant standards.
In addition, a minimum clearance of 750 mm between
inflammable objects e.g. curtains, towels or heat-sensi-
tive plastics, and the front of the unit must be main-
tained.
The device is mounted to the wall with 3 screws. The
enclosed plastic bag contains screws and dowels.
Observe the minimum clearances! Dimensions in mm.
250
300
3.1 Mounting Instruction
Unlock the wall bracket (A) and remove from the
device.
Drill mounting holes for the wall bracket and insert
the dowels.
Align the wall bracket and firmly screw it onto the
wall.
Hang the device on the wall mount.
Pivot down the heater and push into place (B).
EN-6
2000 W
1/N/PE~, 230 V, 50 Hz
IP24
I (with protective conductor)
300 x 405 x 120 mm
3,25 kg
280
405
250
H_260_4_gb · 03/15/B
4. Electrical Connection
The voltage marked on the type plate must correspond to the
supply voltage (A.C supply only).
5. Heating operation
5.1 All Models
The room temperature is
regulated using the adjust-
able thermostat (A). If the
rotary knob is set to the
lowest setting i.e. to the ex-
treme left (see figure), the
thermostat switches the
heater on at an ambient
temperature of approx. 5°C.
ATTENTION!
Rooms can become overheated if left unattended
whilst being heated; this depends on the size of the
room, its heating requirements and the setting of the
thermostat. Persons who are not able to vacate the
room if the temperature becomes too high can thus be
placed in danger.
5.2 Models with 60-minute timer
Turn the timer knob (B) in a clockwise direction. Set the
desired time period (up to 60 minutes).
During the time set, the de-
vice runs at its full output of
2000 W. The thermostat is
deactivated. When the set
time has expired, the de-
vice switches to a lower
(1000 W) heating level,
which is controlled by the
thermostat.
The set time can be changed or reversed at any time
using the timer knob (B).
308
B
A
www.dimplex.de/en
A
B
