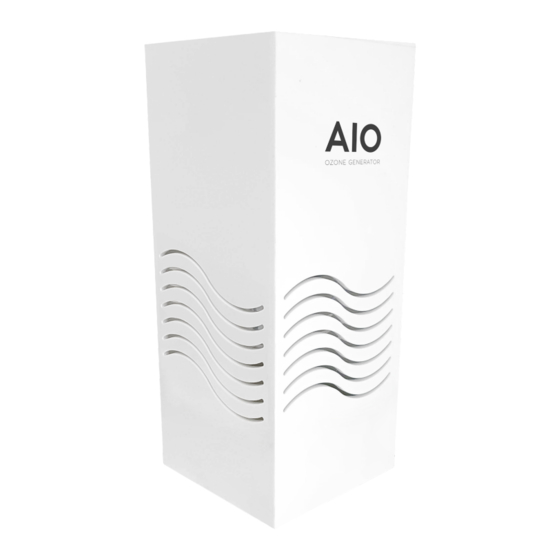
AIO CM1-AIO Instrukcja użytkowania - Strona 10
Przeglądaj online lub pobierz pdf Instrukcja użytkowania dla Przenośny generator AIO CM1-AIO. AIO CM1-AIO 16 stron. Ozone generator

Example:
For a 30 m2 room with a height of 2.5 meters would be:
(30 x 2,5) x 1,605= 120,3 min. so we will program the device to 2 hours.
NOTE: this rule is not exact, as it will depend on the temperature, air pressure, room
layout, air flow zones, additional air conditioning systems, etc.
a) Single ozonation of air / water / item
By quickly pressing the Ozone button (C) user enables the single ozonation mode. Generator
is working for the selected time and then switches off.
Mode can be used for air, water or item ozonation.
When the generator is working there is a RED led above the button, when it is in standby
(selected time has passed) RED led is off, GREEN led is on.
NOTE: S ee some of the recommended applications in Section 8.
- When using the water ozone function, connect the hose to the air bubble stone.
- Put a silicone hose with an air bubble stone into the water container and then activate the
"ozone" function on the device.
- Silicone is resistant to the destructive effects of the sun, ozone and gases in the
atmosphere. If you lose your hose or want to buy a new one, remember to choose a 100%
silicone hose without plastic.
ITEM OZONATION
Put the items in the aluminium box. You can ozone scissors, combs, masks or other small
items. Then connect one side of silicone hose to the device (see Device Installation 4.1 ) and
place the other side of the hose into aluminium box. See below how the hose should be
inserted.
NOTE: Electrical items like phone or smartwatch etc. should not be ozonatated because
ozone may affect their condition. The manufacturer is not responsible for items and
equipment that have been ozonized despite the recommendations in the instructions.
AIO - Instruction of use, Version 2, Date: 16.06.2020
10/16
