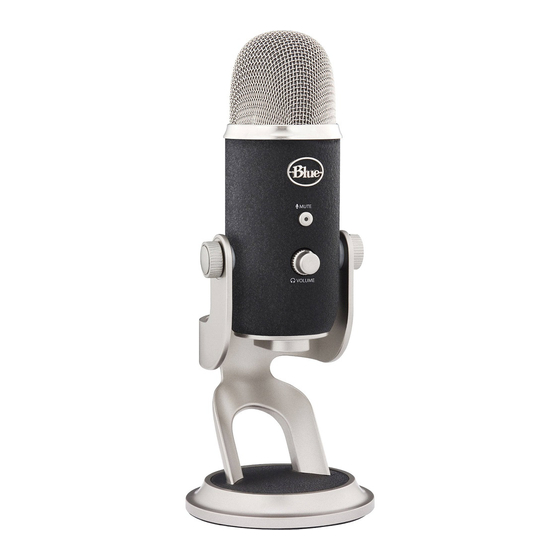
Blue YETI PRO Podręcznik użytkownika - Strona 8
Przeglądaj online lub pobierz pdf Podręcznik użytkownika dla Mikrofon Blue YETI PRO. Blue YETI PRO 16 stron. Ultimate usb & xlr microphone for professional recording

9. Select your desired sample rate from the Default Format pull down menu**
**NOTE: Sample Rate settings must be the same for both input and output.
Windows XP
Plug in your Yeti Pro Microphone using the provided USB cable, then visit www.bluemic.com/yetipro to download the
appropriate driver for Windows Vista.
1. Download the "Yeti Pro USB 2.0 Driver" from www.bluemic.com/yetipro to your computer's hard drive.
2. Double click the "Yeti Pro USB 2.0 Driver.exe" file.
3. Follow the instructions in the installation wizard to install the Yeti Pro USB 2.0 Driver.
After the Yeti Pro USB 2.0 driver has been successfully installed:
1. Plug the microphone into the USB port on your computer using the provided USB cable.
14
2. From the start menu, select the control panel.
3. From the control panel, select the "Sounds and Audio Devices" icon.
4. Select the "Audio" tab.
5. Select "Yeti Pro Stereo Microphone" from the "Sound Playback" pull-down menu.
6. Select the "Volume" button within the "Sound Playback" area.
From this screen, you will want to adjust the microphone monitoring volume.* If there is NOT a visible fader for microphone
output, select "Properties" from the "Options" menu. Make sure that the box labeled "Microphone," within the "Show the
following volume controls" window, is checked.
*NOTE: The microphone monitoring volume is different than the microphone gain control. The microphone monitoring volume is the amount of sound from the
microphone that is sent to your main computer output. The microphone input volume is the control that determines the amount of sound from the microphone that goes
into your computer. If the microphone input is distorting, the microphone input volume should be adjusted accordingly.
15
