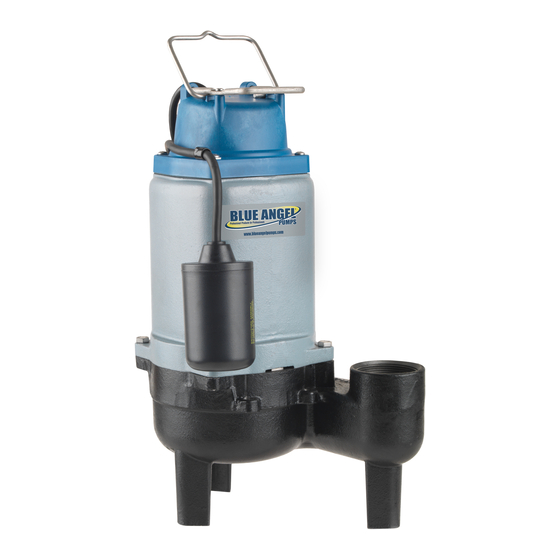
Blue Angel Pumps 75SW Instrukcja obsługi i instrukcja części zamiennych - Strona 6
Przeglądaj online lub pobierz pdf Instrukcja obsługi i instrukcja części zamiennych dla Pompa wodna Blue Angel Pumps 75SW. Blue Angel Pumps 75SW 12 stron. Sewage pump

INSTALLATION MANUAL
TROUBLESHOOTING WARNINGS
ALWAYS DISCONNECT THE PUMP FROM POWER SUPPLY before
installing, servicing or making any adjustments.
TOUJOURS METTRE LA POMPE HORS TENSION avant de procéder à
l'installation, à l'entretien ou à des réglages.
LET PUMP COOL FOR A MINIMUM OF 2 HOURS BEFORE ATTEMPTING TO
SERVICE. Submersible pumps contain oil that become pressurized
and hot under normal operating conditions.
LAISSER REFROIDIR LA POMPE PENDANT AU MOINS 2 HEURES AVANT
D'ESSAYER DE LA RÉPARER. Les pompes submersibles contiennent
de l'huile qui devient pressurisée et chaude dans des conditions
normales de fonctionnement.
TROUBLESHOOTING
Symptoms
Possible Cause(s)
Pump will not
1. Water level too low
start or run
2. Blown fuse or tripped circuit breaker
3. Low supply voltage
4. Motor
5. Switch
6. Inlet clogged
7. Switch obstruction
Pump starts and
1. Back-flow of water from discharge
stops too often
pipe
2. Switch
3. Check valve not functioning properly
or leaking
Pump shuts off
1. Switch
and turns on
2. Switch obstruction
independently
3. Obstruction in discharge pipe
of switch (trips
thermal overload
4. Low supply voltage
protection)
6
1. Submersible pump models have permanently lubricated
bearings and require no additional lubrication.
2. Submersible pumps contain dielectric oil for cooling.
Dielectric oil can be harmful to the environment. Follow
state environmental laws when disposing of pump.
3. The pump motor is equipped with automatic resetting
thermal protector and may restart unexpectedly. Protector
tripping is an indication of motor overloading as a result of
operating the pump at low heads, excessively high or low
voltage, inadequate wiring, incorrect motor conditions, or at
the end of product life.
Suggested Remedies
1. Water must be at the appropriate level to activate switch
2. If blown, determine cause and then either replace with proper
sized fuse or reset breaker
3. Contact an electrician
4. Replace pump
5. Replace tether switch
6. Remove debris
7. Remove obstruction to verify free motion of switch
1. Install check valve
2. Replace tether switch
3. Remove and examine check valve for prop er in stal la tion and free
operation. Replace check valve if necessary.
1. Replace tether switch
2. Remove obstruction to verify free motion of switch
3. Remove obstruction in discharge piping
4. Contact an electrician.
