ASG DTT Series Instrukcja obsługi - Strona 3
Przeglądaj online lub pobierz pdf Instrukcja obsługi dla Sprzęt testowy ASG DTT Series. ASG DTT Series 12 stron.

1)
INTRODUCTION
Thank you for purchasing an ASG DTT Torque Meter. We know you have a choice and
all of us here at ASG are pleased that you chose our meter. Please feel free to contact
us with any comments regarding this, or any other ASG product at the phone number,
fax number or e-mail address provided on the first and last page of this guide. Normal
working hours are from 8:00 AM to 5:00 PM Eastern Standard Time.
This User Guide is designed to explain the physical operation of your new meter.
Please read this thoroughly to familiarize yourself with this operating procedure. Refer
to the ASG DTT PROGRAMING and CALIBRATION MANUAL for instructions on the
various features available in the ASG DTT Meter.
You can determine the features you wish to have available to the operator by
programming them into the meter and saving the set up. Those features will then be
part of the systems default setting and are activated each time the meter is turned on.
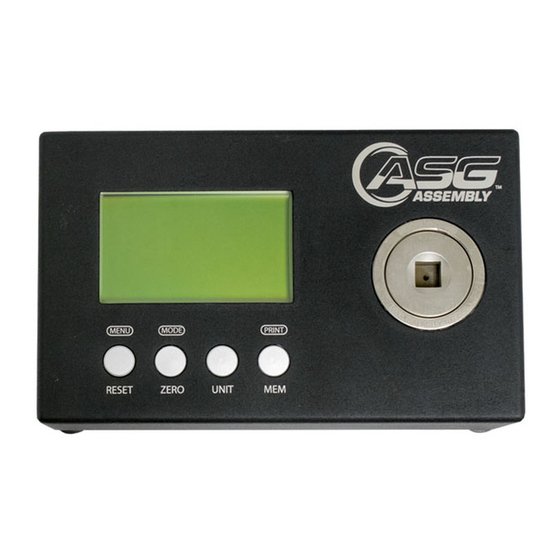
Each ASG-DTT meter is designed to give convenient and accurate torque
measurement in a portable unit.
The unit can be used with most torque setting devices including Hand torque
screwdrivers, Electric torque screwdrivers, and pneumatic screwdrivers.
Do not use this unit with impact tools. The purpose of the unit is for setting the
torque level of fastening tools for consistent fastening torque. The proper fastening
torque will prevent breaking fasteners or loosening of the fastener after installation.
2)
STANDARD EQUIPMENT
All DTT meters are supplied with the following standard items:
Plastic carrying case
RS-232 Communication cable or USB to Serial bridge cable
CD containing ASG Memloader download software and the Programming and
Operating manuals and the drivers for the USB to Serial bridge cable.
110 VAC battery charger
Certificate of Calibration
Various driver adaptors for use with power tools
3)
CHARGING THE BATTTERY AND PREPARING THE UNIT FOR USE
Before using the DTT-100 make sure, the batteries have been charged for at least 4
hrs. If the batteries are low, the LCD may not function. A "Low battery" warning may
also be displayed on the LCD when the unit is turned on. The words "battery empty"
will be displayed briefly before the unit automatically shuts down.
If the battery is dead and you wish to use the meter, it is acceptable to occasionally
use the unit with the battery charger plugged in while the battery is charging. If the
battery dies during use, the on/off switch will need to be cycled to use the unit after
the charger is connected. Allow the battery to fully charge then detach the charger.
The battery will be fully charged after up to 4 hrs of charging.
CAUTION
If the battery overheats during charging a thermal fuse will open. The unit will not
operate until the fuse resets. Allow the DTT meter to sit for up to 30 minutes with the
charger disconnected then turn the unit back on.
Only use the charger supplied with the DTT meter. The supplied charger is a battery
charger only. It is not to be used as an AC adapter to power the DTT meter in place of
using the batteries in normal operation.
3
