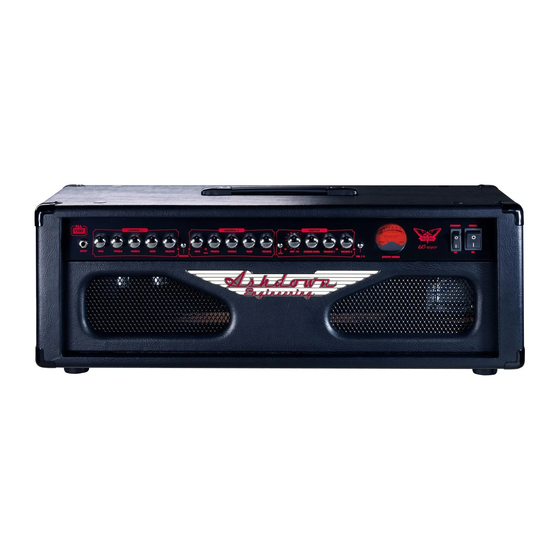
Ashdown Fallen Angel 180 Head Instrukcja obsługi - Strona 8
Przeglądaj online lub pobierz pdf Instrukcja obsługi dla Wzmacniacz do instrumentów muzycznych Ashdown Fallen Angel 180 Head. Ashdown Fallen Angel 180 Head 12 stron.

#16598 - Manual 2005_FA
18/4/05
MASTER SECTION
EFFECTS LOOP PUSH BUTTONS (180 Head)
- There are 4 push buttons for assigning the 2
effects loops to either Channel 1, Channel 2
or both. The first 2 push buttons are for
Channel 1. The top button assigns Loop 1 to
Channel 1. The lower button assigns Loop 2
to Channel 1. With both buttons IN, both
Loop1 and Loop 2 are assigned to Channel 1.
The next set of 2 push buttons perform the
same operation for Channel 2. This effects
scheme provides a supremely flexible effects
facility. Switching is also provided on the
back panel for selecting either Serial or
Parallel effects loops.
EFFECTS IN/OUT (180 Head) - To the right of
the Effects assignment section are two more
push buttons. The top one activates the
effects loops from the front panel. The LED
above the 4 effects assignment buttons
indicates Loops active. If you are using the
footswitch then leave this front panel push
button in its OUT position.
INTERNAL DSP EFFECTS (40 DSP & 60 DSP
Combos, 60 DSP Head) - The 40 and 60 DSP
combo amplifiers and 60 DSP head have 16
built in Digital Signal Processor (DSP) effects.
These can be selected from the 16 way rotary
switch. The 16 Effects available are: 4 x
Chorus, 4 x Flanger & 8 x Delay, all have been
specially created specifically for guitar use.
The DSP Effects can be switched IN/OUT with
the front panel push switch. Effects IN is
indicated with the LED next to this push
button switch. If you are using the foot
switch then leave this front panel push
button in its OUT position.
INTERNAL DSP REVERB (40 DSP & 60 DSP
Combos, 60 DSP Head) - The level of the
DSP reverb is set using the Reverb Level
control next to the 16 way rotary switch. The
actual type of REVERB has been specially
created for guitar use and to be a big
improvement over traditional Spring Reverb.
MASTER 1/MASTER 2 - Two selectable
Master Level controls are provided for further
flexibility. The push button to the side of
12:16 pm
Page 8
Front Panel Facilities
these can be used to switch between Master
1 and Master 2. If you are using the
footswitch then leave this front panel push
button in its OUT position. This is a very
useful facility which allows instant switching
between two pre-set volume levels on either
channel. LEDs at the top right of each control
indicate which is active.
VU METER - The VU meter indicates output
power level.
STANDBY AND POWER SWITCH - Always
make sure the Standby switch is in its OFF
position before activating the main Power
switch. Allow the amplifier to warm up for at
least 1 minute before setting the Standby to
ON. Following this procedure every time you
use the amplifier will prolong the life of the
tubes. Always allow the tubes to cool down
well before transporting the amplifier
otherwise damage to the tubes can easily
result.
