CYP PU-232 Instrukcja obsługi - Strona 7
Przeglądaj online lub pobierz pdf Instrukcja obsługi dla Przedłużacz CYP PU-232. CYP PU-232 12 stron. Rs-232 control over cat5/6 extender set
Również dla CYP PU-232: Instrukcja obsługi (8 strony)

6. OPERATION CONTROLS AND FUNCTIONS
6.1 Transmitter Front and Rear Panels
1
RS-232 IN: Connect a PC/laptop's main control system with a DB 9
female to male cable in order to send protocol to the source device.
2
CAT5: Connect a CAT 5 cable (up to 250m) and link it to the Receiver
unit .
3
DC 5V: Connect the 5V DC power adaptor into the unit and plug the
adaptor into an AC outlet.
Note: Only one adaptor is needed for both the Transmitter and Receiver.
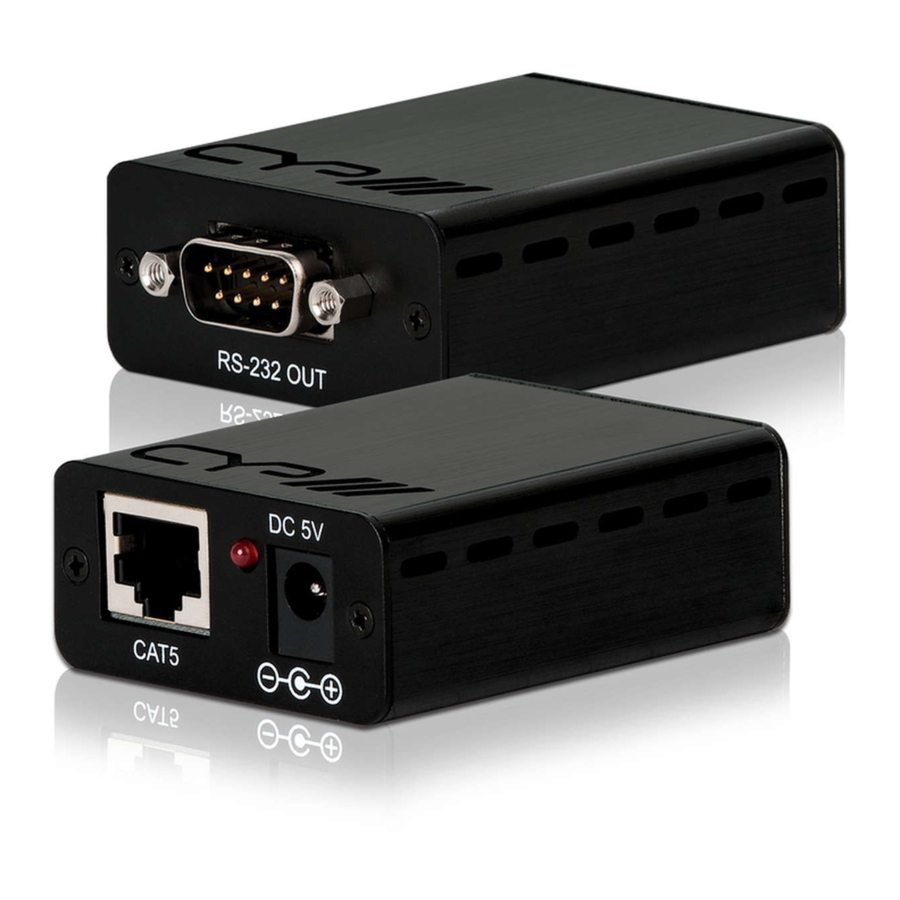
6.2 Receiver Front and Rear Panels
1
RS-232 OUT: Connect to the source device with a DB 9 male to female
cable for receiving and communicating with a PC/Laptop or RS-232
control system.
2
CAT5: Connect a CAT 5 cable (up to 250m) and link it to the
Transmitter unit.
3
DC 5V: Connect the 5V DC power adaptor into the unit and plug the
adaptor into an AC outlet.
Note: Only one power supply is needed for both Transmitter and Receiver
however, if operating at extreme distances then two power supplies may
be required.
RS-232 IN
1
RS-232 OUT
1
DC 5V
CAT5
2
3
DC 5V
CAT5
2
3
7
