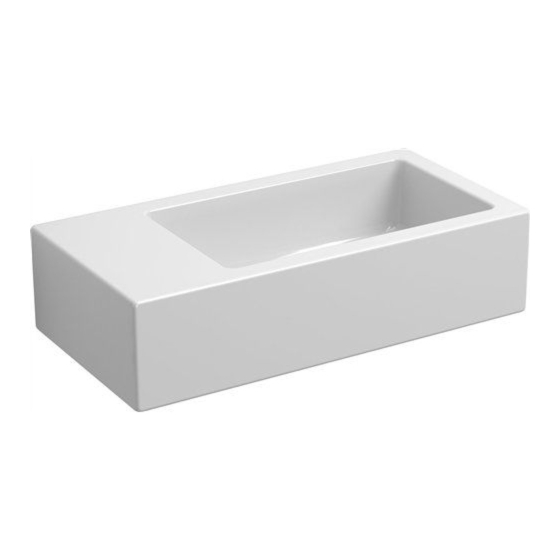
Clou Flush 3 Instrukcja instalacji - Strona 7
Przeglądaj online lub pobierz pdf Instrukcja instalacji dla Armatura kuchenna i łazienkowa Clou Flush 3. Clou Flush 3 12 stron. New flush 3
Również dla Clou Flush 3: Instrukcja instalacji (16 strony), Instrukcja instalacji (16 strony), Instrukcja instalacji (12 strony)
1_
230 mm
Duidt met potlood en waterpas
de middellijn van de fontein
aan.
Mark with pencil and level the
centreline of the wash-hand
basin.
Marquer avec un crayon et avec
un niveau la ligne de centre du
lave-mains.
Markieren Sie mit einem Blei-
stift und mithilfe der Was-
serwaage die Mittellinie des
Handwaschbecken.
2_
Duidt met potlood en waterpas
de gewenste hoogte X van de
fontein aan. (aangeraden: X =
900 mm)
Mark with pencil and level the
prefered height X of the wash-
hand basin. (recommended: X
= 900 mm)
Marquer avec un crayon et avec
un niveau la hauteur souhaitée
X du lave-mains. (recomman-
dé: X = 900 mm)
Markieren Sie mit einem Blei-
stift und mithilfe der Wasser-
waage die gewünschte Höhe X
des Handwaschbecken. (Emp-
fohlener Wert: X = 900 mm)