Cypress CAPSENSE EXPRESS CY3218-CAPEXP1 Skrócona instrukcja obsługi - Strona 3
Przeglądaj online lub pobierz pdf Skrócona instrukcja obsługi dla Płyta główna Cypress CAPSENSE EXPRESS CY3218-CAPEXP1. Cypress CAPSENSE EXPRESS CY3218-CAPEXP1 20 stron. Capsense express evaluation kit
Również dla Cypress CAPSENSE EXPRESS CY3218-CAPEXP1: Skrócona instrukcja obsługi (2 strony)

3. Install Software
Install PSoC Express Development Software
Insert the Kit CD, wait for the installer to start, and install the following software in the order
listed:
a.
Install PSoC Programmer.
b.
Install .NET Framework 2.0.
c.
Install PSoC Express 3.
d.
Install CapSense Express Extension Pack.
e.
Install CapSense Express Kit Documentation.
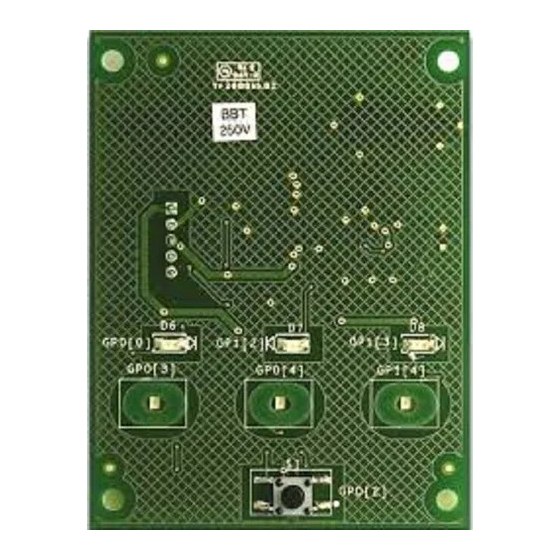
4. CY3218-CAPEXP1 Board Features
3 CapSense Buttons
■
3 Backlighting LEDs
■
(Green)
3 Status LEDs (Green)
■
1 Power LED (Red)
■
1 Mechanical Button
■
2
I
C Header
■
AAA Battery Holder
■
Use the CY3218-CAPEXP1 Evaluation Kit to evaluate the CapSense buttons, LED drive, digital
2
input, and I
C features of the CapSense Express device. Via the CapSense Express Configura-
tion Tool in PSoC Express, the three backlighting LEDs and three status LEDs can be controlled
by the CapSense buttons and the mechanical button. The CapSense Express device mounted
on the board is in the 16-QFN package. The board is powered with a AAA battery mounted in
the battery holder. A boost converter converts the input voltage in the range of 0.9V-1.5V to the
device operating voltage of 3.3V. The board can also be powered using an I2USB bridge con-
2
nected to the I
C header.
Status LEDs
CapSense Buttons with
Backlight LEDs
Mechanical Button
Top of Board
Page 3
