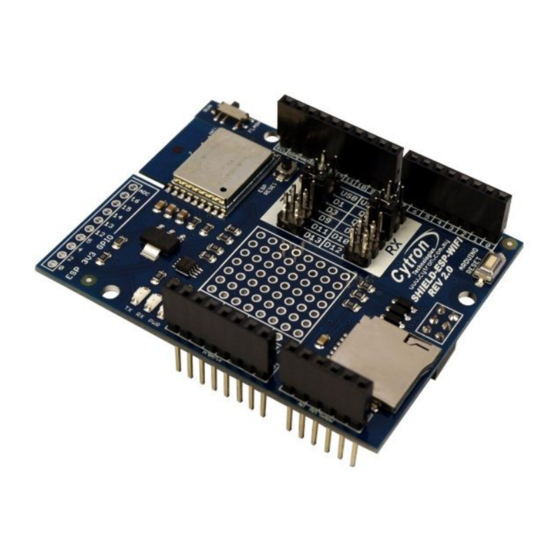
Cytron SHIELD-ESP-WIFI Podręcznik użytkownika - Strona 16
Przeglądaj online lub pobierz pdf Podręcznik użytkownika dla Sprzęt nagrywający Cytron SHIELD-ESP-WIFI. Cytron SHIELD-ESP-WIFI 17 stron.

● Linux ( for L inux u ser o nly)
1. Download latest E SPWIFI_Shield_Firmware from link provided at product
page. E xtract i t. E nter t he f older, g o t o i nstall_firmware - > l inux.
2. Make sure ESP-WROOM-02 module is in FLASH mode (step 4 and 6 in
Hardware C onfiguration)
3. Open t erminal h ere a nd r un f ollowing l ine t o s tart f irmware i nstallation.
$ . /flash.sh < the p ort A rduino U no + E SPWiFi s hield c onnecting t o>
E.g $ ./flash.sh / dev/ttyACM0
AT T est a nd s ome m inor c onfiguration
1. Open Arduino Serial Monitor. Make sure the serial port is same as the port Arduino
Uno + E SPWiFi s hield c onnecting t o.
2. Open a nd s et u p A rduino S erial M onitor w ith s ettings b elow.
● 115200 B aud
● Both N L & C R
3. Switch t he s lide s witch t o R UN m ode.
4. Press ESP reset button. If there is a word "ready" shown in monitor, the firmware
installation i s s uccessful a nd t he f irmware i s w orking p roperly.
5. Enter t he c ommand A T+UART=9600,8,1,0,0
6. After t he m onitor s hows " OK" i n r eturn, c hange t o 9 600 B aud.
7. Test the module with several commands like AT and AT+GMR. If there are replies
from t hese c ommands, U ART s etup i s s uccessful.
8. The shield is now ready for WiFi library implementation.
and R X j umpers t o D 2 a nd D 3 o r o ther p airs a ccording t o y our a rduino s ketch.
Created b y C ytron T echnologies S dn. B hd. – A ll R ight R eserved
Product U ser's M anual – E SPWiFi S hield R ev2.0
R emember to switch TX
ROBOT . H EAD t o T OE
16
