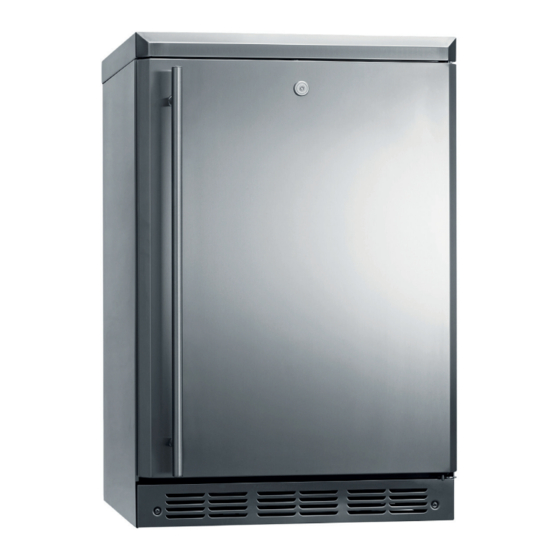
Asko R2303 Instrukcja obsługi - Strona 11
Przeglądaj online lub pobierz pdf Instrukcja obsługi dla Lodówka Asko R2303. Asko R2303 12 stron. Outdoor refrigeration

Installation guide
Installation dimensions
The Outdoor/Indoor refrigerator can be a free
standing model or can be build in using the cut-out
dimensions below.
When building in the Outdoor/Indoor refrigerator, be
sure to allow for a full door swing so you have full
access to the pull-out full extension drawers.
The top canopy may be removed when installing
under a countertop.
The door MUST BE closed when removing or
replacing the top canopy. To avoid damage, the top
canopy must clear the left hinge center locking plate
and right hinge.
•
Remove the 3 screws from the back of the top canopy
(A).
•
Using heavy-duty work gloves, lift up on the top canopy
back (B) and slide it forward until it unlatches from the
unit (C).
•
Lift the top canopy up and off of the unit.
NOTE: Keep the top canopy and screws for future
free-standing installations.
NOTE: When installing the unit in a free-standing
configuration, the top canopy must be left in place.
CAUTION: Under side edges of the stainless steel
canopy top may be sharp. Wear heavy-duty work
The Outdoor/Indoor refrigerator is a factory set for a
110°door swing. When installed in a corner:
•
Allow 130mm minimum clearance on the hinge side
for the 90°door swing and to allow racks to slide out.
•
Allow 380mm minimum clearance on the hinge side
for a full 110°door swing.
Choose the location:
•
This products may be closed in on the top and three
sides as long as the front is unobstructed for air
circulation and proper access to the door.
•
Do not operate these products where the temperature
will go below 7°C or above 49°C.
Install toekick
The toekick has a cutout on the left and right sides.
Remove the plug on the left side and reinstall on the
right side. If you choose to install the stainless steel
toekick, reinstall the plug on the right side of that
toekick.
•
Install original screws and spacers or screws and
spacers supplied with the stainless steel toekick.
Install screws through the spacer standoff, toekick
and into the base as shown.
