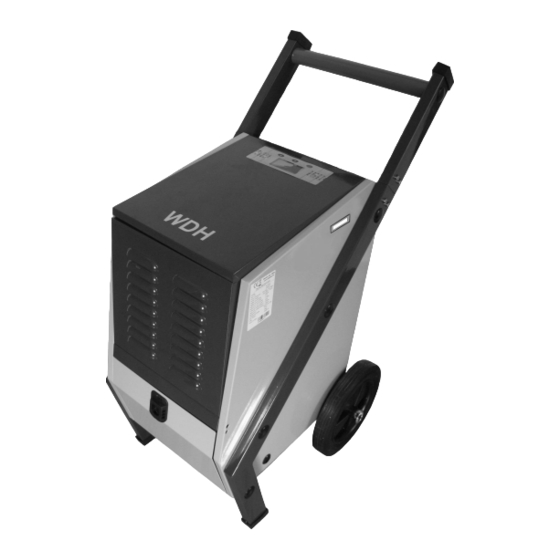
Aktobis WDH-500AH Manual - Página 2
Procurar online ou descarregar pdf Manual para Secador Aktobis WDH-500AH. Aktobis WDH-500AH 10 páginas.

Mounting the castors and the transport handle:
To reduce the volume of a new unit, the transport handle and the castors incl. axle are dismantled.
The following accessories are included for castor assembly:
2 x castors
2 x hubcaps
1 x axle
1 x small parts bag, consisting of:
4 x washers
4 x axle clamps (cotter pins)
The following accessories are included for the transport handle
assembly:
1 x transport handle
1 x small parts bag, consisting of:
2 x connecting rail
8 x hexagon socket screws (4 mm)
1 x hexagon spanner (4 mm)
To assemble, place the building dryer on the front (front panel). To
protect the unit, we strongly recommend using a soft base. This can be
e.g. a blanket, towel, polystyrene or similar!
A) Loosen the two axle fastening screws located in the base plate with a 10 mm spanner (see fig. 1 above).
B) Now insert the axle fastening screws through the axle holes that are at the same height and then screw the
screws firmly back into the base plate of the building dryer using the 10 mm spanner.
C) Insert one axle clamp on each side through the small holes at the level of the outside of the dryer housing and
then bend them up or apart (see Fig. 2 below).
D) Now put a washer on the axle from each side - up to the axle clamp.
E) Now the castors can be attached to the axle on each side.
F) Now put a washer on each side of the axle again - up to the roller.
G) Finally, fix the whole thing in place by again inserting an axle clamp through the top of the outer axle hole on
each side and then bending it upwards to secure it.
H) Now put on the hub cap from the outside (put it over the axle clamp).
I)
To assemble the transport handle, first take a connecting rail included in the scope of delivery and 2 hexagon
socket screws. Insert the connecting rail halfway into the open hollow linkage and fasten it with the two
hexagon socket screws (see Fig. 3 below). Repeat this step with the second connecting rail and the two more
hexagon socket screws on the other side.
J) Now put the transport handle over the open connecting rail on each side and screw it tight with the four
remaining hexagon socket screws. DONE !
Axle clamp
Fig. 2
Axle clamp
Washers
Aktobis AG, Borsigstr. 20, D-63110 Rodgau / Germany
www.AKTOBIS.de
Email: [email protected]
Castor
Hub cap
Fig. 1
Fig. 3
