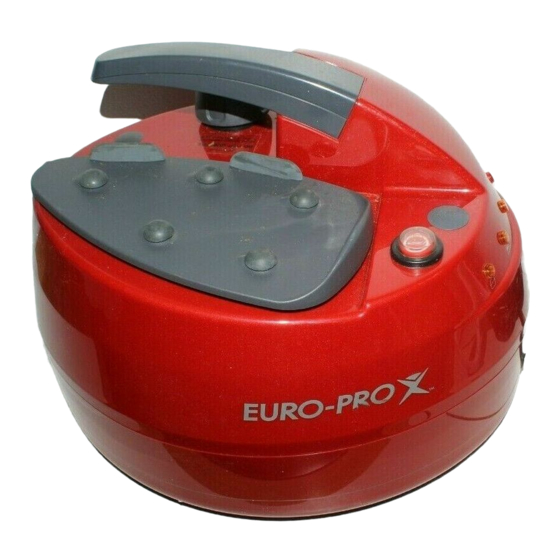
Euro-Pro EP965 Manual de Instruções de Utilização e Cuidados - Página 6
Procurar online ou descarregar pdf Manual de Instruções de Utilização e Cuidados para Máquina de limpeza a vapor Euro-Pro EP965. Euro-Pro EP965 20 páginas. Steam cleaner with iron 1500 watt

Operating Instructions - Components
On/Off Switch:
The unit is "On" when the switch (#2) is in the "Pushed down" position. The unit is "Off" when the switch is in
its "Up" position.
Safety Cap (#1)
In order to open the Safety Cap, first press it down and then turn counterclockwise.
Caution: Read the instruction for "Filling the Water Tank" before opening the Safety Cap.
Steam Indicating Light (Yellow) (#3)
When this light is "On", it indicates that the steam is ready to use.
Important: This light will go "On" and "Off" during usage showing that the steam is being generated.
Add Water Light (Red) (#4)
This light will go "On" when the water level is low.
Important: Before adding water, read the instructions for adding water.
Depending on the ambient room temperature, this light might go on for a short period during initial tank heating.
On/Off Steam Switch (#7)
Setting this switch to the "On" position will start the flow of steam.
Caution: The On/Off Steam Switch located on the handle must be in the "Off" position before attaching or
disassembling accessories.
Starting Your Steam Cleaner
CAUTION:
Do not plug in the machine during filling. Use a grounded receptacle. Use
only a heavy duty extension cord rated for 15 amps - Do not use an ordinary
extension cord.
Filling Your Steam Generator With Water
Step 1:
Make sure that the ON/OFF Switch for the system (2) and ON/OFF Steam Switch (7) are in the
"OFF" position.
Step 2:
Make sure that your appliance is unplugged i.e. is not connected to an electrical power
source.
Step 3:
If you have used the unit before, make sure that any remaining steam in the Steam Generator
has been released through the iron as described in Steps 10 and 11.
Step 4:
To unscrew the Safety Cap (1), push down and turn the cap counterclockwise, slowly.
5
