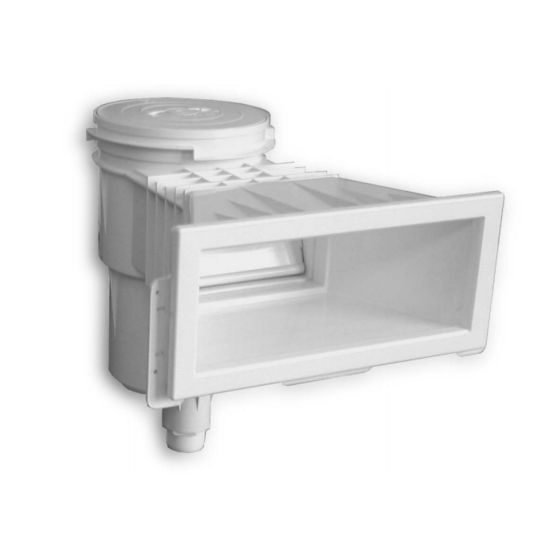
Astralpool SKIMMER Manual de instalação e manutenção - Página 3
Procurar online ou descarregar pdf Manual de instalação e manutenção para Equipamento de iluminação Astralpool SKIMMER. Astralpool SKIMMER 8 páginas. For panelled pools

ASSEMBLY IN PREFABRICATED PLATE PANELED POOLS
1. Drill a hole in the panel as indicated in Fig. 2. Also drill ∅ 15/64" holes at the heights
indicated on the same figure.
2. Place the skimmer through the outer part of the plate panel of the pool. Place the 3 distance
spacers as indicated in Fig. 5.
3. Screw the 6 DIN 7981 5,5x32 screws (Fig. 5).
4. Stick the adhesive seal on the inlet.
5. Place the Liner in the pool.
6. Place the flange and fasten it with the 12 DIN 7982 5.5x25 screws, if the inlet is square or
16 DIN 7982 5.5x25 screws if the inlet is rectangular.
7. Finally, cut the liner along the inner panel of the skimmer inlet and place the skimmer trim.
Steps 3 to 7 are detailed in Fig. 3.
ASSEMBLY IN PREFABRICATED POLYMER PANELED POOLS
1. Drill a hole in the panel as indicated in Fig. 4. Also drill ∅ 11/64" holes at the heights
indicated on the same figure.
2. Place the skimmer through the outer part of the polymer panel of the pool, as indicated in
Fig. 5.
3. Screw the 6 DIN 7981 5,5x16screws (Fig. 5).
4. Stick the adhesive seal on the inlet.
5. Place the Liner in the pool.
6. Place the flange and fasten it with the 12 DIN 7982 5.5x25 screws, if the inlet is square or
16 DIN 7982 5.5x25 screws if the inlet is rectangular.
7. Finally, cut the liner along the inner panel of the skimmer inlet and place the skimmer trim.
Steps 3 to 7 are detailed in Fig. 3.
ASSEMBLY IN CONCRETE POOLS
The same assembly method as paneled pools should be followed, but without placing the
screws, distance separators and adhesive seal, as they cannot be used with these skimmers.
4. OPERATION
The Skimmer collects water from the pool surface and sends it to the filtering system to be
returned clean to the pool.
The Skimmer performs several important functions for the good working order of the swimming
pool.
FLOW ADJUSTMENT
15 liter Skimmer:
•
The clapper unit should be assembled by fastening the screw in the inside hole of the
skimmer, beside the water outlet (Fig. 6). The flow is adjusted by turning the clapper.
17.5 liter Skimmer
•
To adjust the flow, simply screw or unscrew the adjustable cap to open or close the water flow.
CONNECTION OF THE FLOOR CLEANER
Simply close the suction cap of the poor floor and remove the adjustable cap. Place the suction
cover on the basket and fasten it (bayonet). Finally, the hose (Fig. 7) is connected to the suction
cover. To perform this operation in pools with more than one Skimmer, close all the Skimmers
(Fig. 8), except the one used to connect the floor cleaner. Remember that in "liner" type pools,
3
