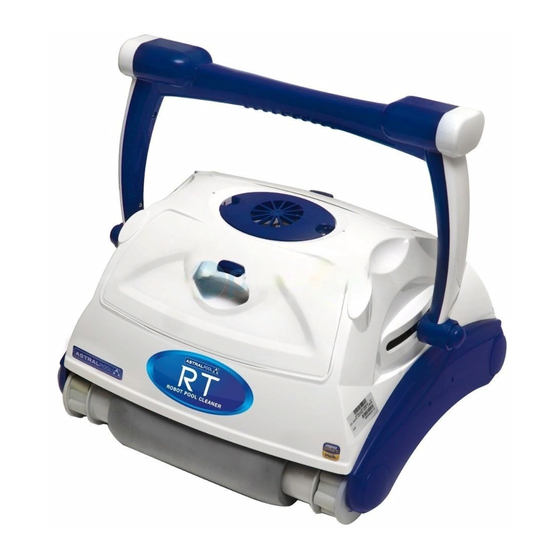
Astralpool RPT Plus Manual de instruções de instalação e funcionamento - Página 4
Procurar online ou descarregar pdf Manual de instruções de instalação e funcionamento para Aspirador de piscinas Astralpool RPT Plus. Astralpool RPT Plus 20 páginas. Robotic pool cleaner
Também para Astralpool RPT Plus: Manual de instruções de instalação e funcionamento (16 páginas)

Introduction
System Overview
The robotic cleaner sweeps the pool floor and walls to collect dirt and debris
into its internal filters. This user manual explains how to operate the robotic
cleaner, including cleaning, maintenance and storage procedures.
Note:
This manual reviews several robotic cleaner models. There are some
variations in components according to specific model.
How the Robotic Cleaner Cleans Your Pool
After the robotic cleaner is placed in the pool and activated, it operates
according to the program set via the power and control unit. The robotic cleaner
moves along the floor and walls of the pool, covering the entire area of the pool
floor and walls. When the robotic cleaner has finished its program, it remains
inactive on the pool floor.
Note:
Wall climbing is an optional feature. When the wall climbing feature is enabled,
the robotic cleaner climbs the wall at intervals according to its internal program.
The robotic cleaner ability to climb over stairs in swimming pool is subject to
stair geometry and material.
Operating Conditions
The robotic cleaner is intended for use in swimming pools in the following
conditions:
- Temperatures ranging from 13°C-35°C, recommended temperature
is between 22°C-32°C.
- Water pH : 7.2 - 7.6
- Chlorine level: pool is maintained according to the pool manufacturer's
instructions. (recommended 2-5 ppm)
Note:
Failure to maintain the pool according to the recommended operating
conditions could prevent the robotic cleaner from functioning properly.
Remove the cleaner out of water when performing "Chemical Shock
Treatment" to the pool water.
Components
2
3
4
8
8
7
6
7
1) Handle
4
2) Outlet Top
3) Filter Lock Release
4) Filter Lid
5) Handle Lock Mechanism
6) Drive Track
7) Scrubbing Brush
8) Unit Body
9) Water Inlet
1) Handle
10) Power Supply
2) Outlet Top
11) Remote Control
3) Filter Lock Release
12) Trolley
4) Filter Lid
5) Handle Lock Mechanism
6) Drive Track
7) Scrubbing Brush
8) Unit Body
9) Water Inlet
10) Power Supply
11) Remote Control
12) "Trolley" Cart
4
1
1
1
2
2
5
5
8
7
6
3
9
11
9
6
10
10
10
12
