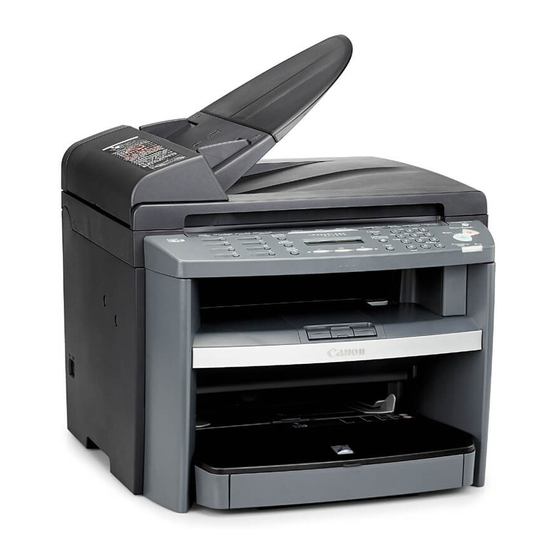
Canon ImageCLASS MF4270 Manual de iniciação - Página 26
Procurar online ou descarregar pdf Manual de iniciação para Scanner Canon ImageCLASS MF4270. Canon ImageCLASS MF4270 38 páginas. Canon all in one printer user manual
Também para Canon ImageCLASS MF4270: Manual de iniciação (36 páginas)

Software Settings with Computer
Automatic Setting
By default, the IP address is assigned to the machine automatically by the DHCP server. Therefore, all you have
to do when using DHCP is just to connect the network cable. After connecting the LAN CABLE, wait for 30
seconds until the machine gets the IP address.
Checking the IP Address Setting
●
To make sure this machine is communicated with the network properly, follow the procedure below.
–
It is recommended that the network administrator perform the following procedures.
–
Before performing the following procedure, make sure that the machine is turned on and connected to a network.
The LCD display turned off:
●
The machine may enter the sleep mode while you are
setting up the machine. Press
the machine back on and continue the setup.
1
Press [Additional Functions].
2
Press [
] or [
SETTINGS>, then press [OK].
3
Press [
] or [
SETTINGS>, then press [OK].
4
Press [
] or [
ADDRESS>, then press [OK].
Manual Setting
This is the setting for the Static IP. If the machine gets IP address automatically in "Automatic Setting",
skip this setting.
In this setting, you enter the IP address, subnet mask, gateway address manually. [Additional
Functions] → <12 SYSTEM SETTINGS> → <2 NETWORK SETTINGS> → <1 TCP/IP SETTINGS> → <1 IP
ADDRESS AUTO> → <OFF> → <2 IP ADDRESS> → Enter the IP address → <1 TCP/IP SETTINGS> → <3
SUBNET MASK> → Enter the subnet mask → <1 TCP/IP SETTINGS> → <4 GATEWAY ADDRESS> → Enter
the gateway address number → Press [Stop/Reset] → Turn off the main power → Restart the machine.
For details on this setting, see Chapter 6, "Network, " in the Reference Guide. Once you complete the
setting, please proceed to "Checking the IP Address Setting, " above.
24
[Energy Saver] to turn
] to select <12 SYSTEM
] to select <2 NETWORK
] to select <4 VIEW IP
5
Press [
] or [
] to select <1 IP
ADDRESS>, <2 SUBNET MASK>, or <3
GATEWAY ADDRESS>, then press [OK].
If the machine is communicated with the network
properly, the IP address, subnet mask and gateway
address are displayed.
If not, IP address, subnet mask and gateway address are
not displayed.
If the machine does not get the IP address 30 seconds
after you connect the LAN cable, turn off the main power
switch once, and then turn it on again and wait for
another 90 seconds. If the machine still does not get the
IP address, ask your network administrator.
We recommend you to take a note of the IP address you
confirmed here, because you need it for "Using the
Remote UI" in the Reference Guide.
6
Press [Stop/Reset] to return to the standby
mode.
If they are not displayed, that indicates that the machine
is not communicated with the network. Please check the
setting of the IP address.
