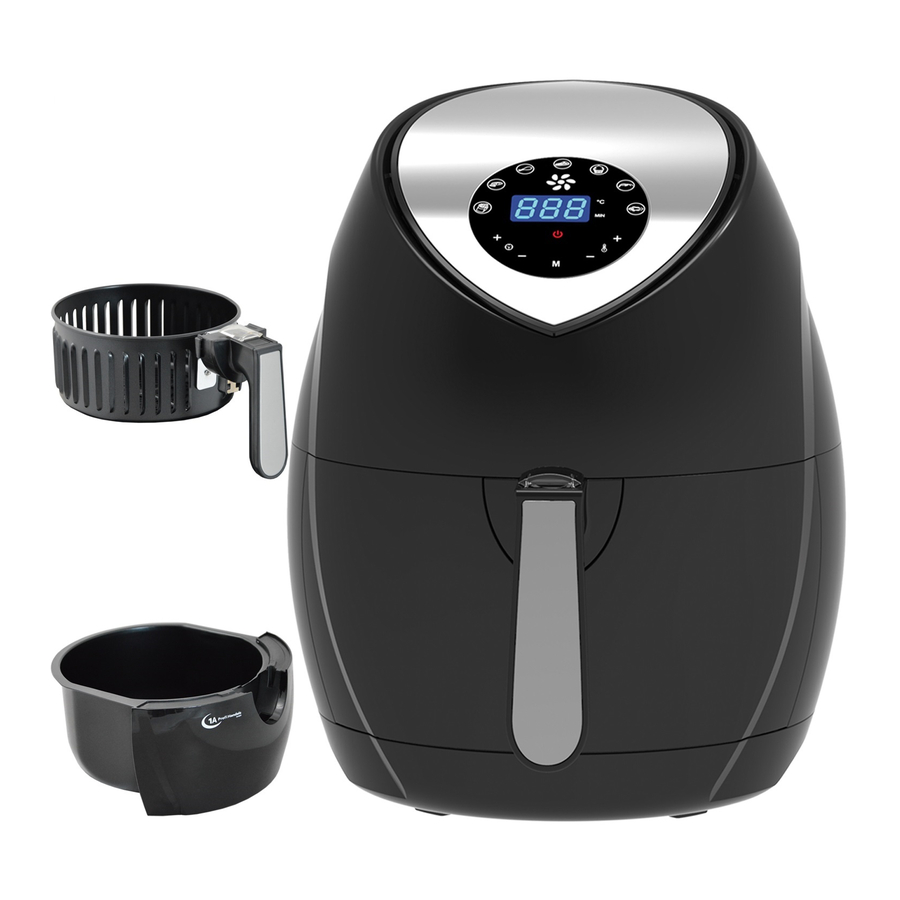
1A Profi Handels Grill ECO AIR-PROFI SOUP DC-1400W Manual de Instruções - Página 4
Procurar online ou descarregar pdf Manual de Instruções para Fritadeira 1A Profi Handels Grill ECO AIR-PROFI SOUP DC-1400W. 1A Profi Handels Grill ECO AIR-PROFI SOUP DC-1400W 15 páginas. Hot air multi fryer & bread machine
Também para 1A Profi Handels Grill ECO AIR-PROFI SOUP DC-1400W: Manual de Instruções (9 páginas), Manual de Instruções (20 páginas), Instruções de utilização (2 páginas)

6 English
How to Make fried chips
To achieve best results, pre-baking of refrigerated chips is recommended. Please follow the following steps to make
your own chips.
l Peel potatoes and cut them into chips.
l Immerse chips into hot water for 5 minutes. Remove them and place them on a paper towel to absorb excess
water.
l Add 1/2 tablespoon of edible oil into a bowl. Put chips into it and shake the bowl so that chips are covered with oil.
l Remove chips from the bowl with fingers or with ideal kitchen utensils. Leave oil in the bowl. Place chips into the
basket.
Attention: do not pour the chips into basket from the bowl at one time in case oil flow into the bottom of
the unit.
l Strictly follow instructions in this part.
5.2. Process of Bread Making
l Rotate the bucket out anticlockwise and remove it.
tip: to prevent dough/paste from sticking on the bottom of the blade, coat
the blade with oil (when installing it).
l Prepare ingredients and place them into the bucket in correct order. Normally,
start with water or other liquid followed by sugar, salt, flour and yeast in this
order.
Note: Cover liquids (water, milk etc) with flour before adding yeast or
baking powder. Make sure that yeast or baking powder does not come in
contact with salt or liquids.
1. Install the blade to the rotation
2. Pour water and milk powder or
shaft on the bottom of the bucket
milk in the first step
4. Place salt on the side close to
5. Place sugar on the side close
the bucket
to the bucket
3. Put eggs (iff needed) into the
bucket after water or liquid filled
6. Pour margarine or butter
7. Cover the water with flour
8. Press out a pit on the flour
10. Fasten the bread pan to the
11. Close the door and plug in
electromotor axe on the bottom
inside the unit by rotating it
clockwise
6. cleaNiNG aND MaiNtaiN
l Please unplug the power cable and allow the appliance to cool before cleaning it. Below are cleaning instructions:
l Use hot water, a dishwashing detergent and a non-abrasive sponge to clean the accessories. You can use an oil
detergent to clean any remnants of tough oil stains.
Note: to easily remove remnants of stains, place accessories in hot water mixed a little bit of detergent for
10 minutes then wipe.
l Accessories like bread pan, baking tray, crumb tray can be wiped with a wet cloth. Do not use a steel wool scou-
ring pad or any harsh scouring pad for that matter as this will damage the coating.
l Use a soft damp cloth to wipe the inside and outside of appliance. Do not pour liquids inside the appliance.
l Make sure that all parts and accessories have been thoroughly cleaned before storing the appliance.
7. iNGreDieNtS iNtroDuctioN
l Bread flour
Bread flour is a kind of gluten flour (sometimes called strong flour or high protein flour) with high protein content. During
bread fermentation, gluten flour may keep the strength of dough after its volume expands and prevent the shape from
collapsing. In comparison to common flour, bread flour has more gluten. It makes the volume of bread bigger and inner
fiber has a better texture. Bread flour is the most important ingredient for making bread.
Note: Although flour looks the same, the performance of flour fermentation and water absorption of flour vary.
this is due to place of wheat production, season when wheat was grown, grinding to shelf life. but, the perfor-
mance of flour fermentation and the water absorption of flour vary from the producing place of wheat, growing
seasons, grinding process to shelf life. It is important to carefully re-seal the flour after opening the package.
Flour absorbs moisture from air and becomes wet, especially in the rainy season. If the flour is wet, please add
less water accordingly when baking.
English 7
9. Put the ferment powder onto
the pit and keep the powder dry
without contact with the salt
12. Select the right program,
press „Start/Pause" button
