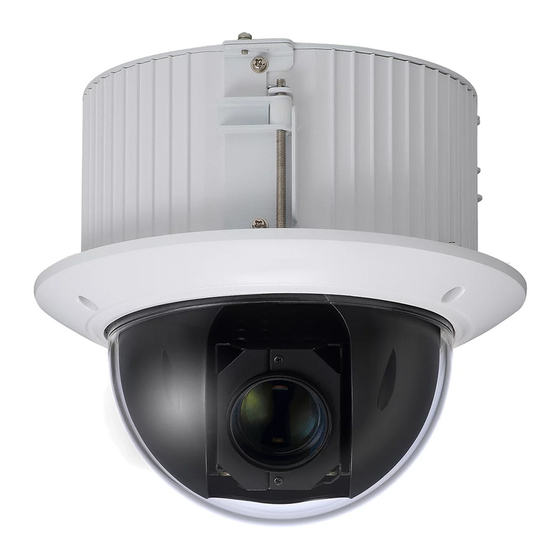
Dahua 42C212TNI Manual de início rápido - Página 13
Procurar online ou descarregar pdf Manual de início rápido para Câmara de segurança Dahua 42C212TNI. Dahua 42C212TNI 20 páginas. 2 mp ptz in-ceiling network camera

4.1 Preparing the Camera
1. Remove the camera, the mount accessories and any hardware packages from the boxes.
2. Remove the camera from the plastic wrapping.
3. Use the hex key to remove the three screws that secure the dome bubble to the camera housing.
4. Remove the bubble and then remove the protective foam ring surrounding the camera.
5. Insert a MicroSD card (maximum 128 GB) into the SD slot, if using local storage, located below
the lens.
4.2 Mounting the Camera to a Wall
Mounting the Camera
1.
Determine the placement of the camera, then affix the ceiling installation template to the
location to mark the location.
2. Cut a hole in the ceiling according to the template.
Connect the composite cables from the camera to the external cabling and then carefully
3.
push the cable through the hole and into plenum.
Insert the in-ceiling bracket and the camera components into the hole.
4.
Secure the screws into the ceiling and then fasten the mount plate.
5.
6. Fasten the decorative cover to the bracket using the three screws.
7. Make the proper wiring connections and supply power to the camera. Refer to Section 3.2 -
Wiring. Wiring
11
