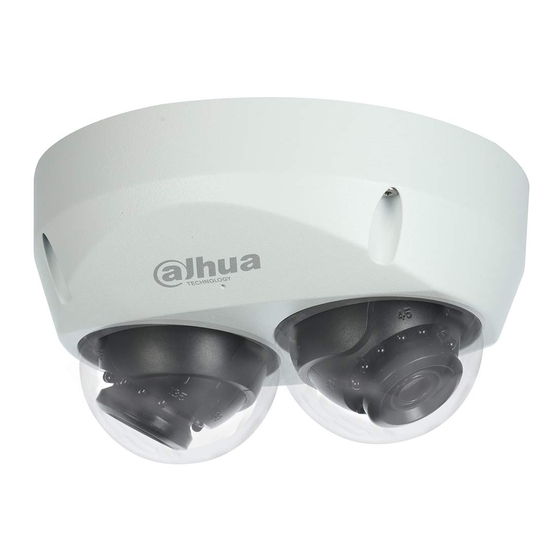
Dahua DH-IPC-HDBW4231FN-E2-M Manual de início rápido - Página 11
Procurar online ou descarregar pdf Manual de início rápido para Câmara de segurança Dahua DH-IPC-HDBW4231FN-E2-M. Dahua DH-IPC-HDBW4231FN-E2-M 16 páginas. Dome network camera
Também para Dahua DH-IPC-HDBW4231FN-E2-M: Manual de início rápido (19 páginas)

Dahua Multi-sensor Wedge Dome Network Camera Quick Start Guide
2.3 Connect Device Cable
Connect device corresponding power cable well according to requirement, and then use
insulated tape to twine the connection respectively to make it waterproof.
Connect network cable to corresponding network port of the device cable according to
"Install Waterproof Connector (Optional)".
Install Waterproof Connector (Optional)
The installation process of waterproof connector for network port is shown in Figure 2-3.
Note
It needs to implement the operation when the device is equipped with waterproof connector and
it is used outdoors.
Step 1
Keep the convex groove outward and install the rubber ring into the network port, keep the
smaller hole of the rubber ring outward and install the fixing rubber ring into the main body of the
waterproof connector.
Step 2
Pull the network cable without crystal head through main body of waterproof connector, fixing
rubber ring and waterproof locking cover, make the crystal head of network cable, and then insert
it into the network cable.
Step 3
Put the main body of waterproof connector on the network port and rotate it clockwise to lock the
network port and waterproof connector firmly.
Step 4
Put the waterproof locking cover on the main body of waterproof connector and rotate it
clockwise to lock the waterproof connector and waterproof locking cover firmly.
2.4 Adjust Device Angle
Step 1
It is to adjust device angle according to monitoring requirement, the adjustment mode is shown in
Figure 2-4.
Lens horizontal rotation: Use hand to rotate the lens and adjust the horizontal rotation
direction of monitoring.
Lens vertical rotation and image horizontal rotation: Use wrench and insert it into the
adjustment hole on the lens surface, rotate the wrench to adjust lens.
Figure 2-3
5
