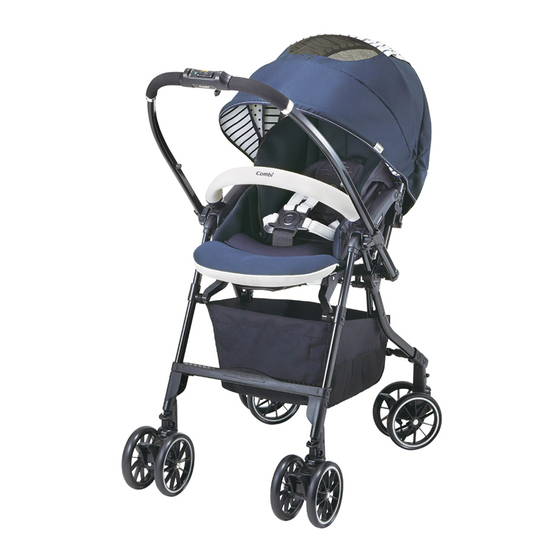
Combi MECHACAL HANDY AUTO4CAS Manual de instruções - Página 16
Procurar online ou descarregar pdf Manual de instruções para Carrinho de bebé Combi MECHACAL HANDY AUTO4CAS. Combi MECHACAL HANDY AUTO4CAS 20 páginas.

Sun Canopy (Figure 2.1)
Unfold the canopy from backward.
(Figure 2.2)
Full size canopy: Pull canopy forward to adjust the size.
Top window (Figure 2.3)
Open top window by releasing snaps.
1
Fasten the snap to close top window.
2
Safety Harness (Figure 2.4)
a. Shoulder and waist buckles are overlapped and secure into crotch buckle.
b. Press the crotch buckle button to release the harness.
NOTE: When changing the seat recline angle, always check the harness to ensure
it is still optimally adjusted.
7
WARNING
Adjusting the waist belt (Figure 2.5)
Pull the belt in the direction as illustrated to adjust its length.
NOTE: Always leave at least 3cm at the belt end.
NOTE: To release harness, go in the steps reverse.
The steps of adjusting shoulder and waist belts are the same.
Adusting the crotch belt (Figure 2.6)
Tightening - Pull the center belt end as shown direction.
Extending - Pull out the length needed to ajust to direction
to extend the crotch belt.
NOTE: Always use the crotch belt together with the waist belt and shoulder belt and
make sure they are properly adjusted.
Adjusting the backrest (Figure 3.1)
Support the backrest with one hand before reclining the backrest.
The headrest will be lifted automatically after the backrest is reclined. (movable headguard)
(Figure 3.2)
Pull the reclining cords as illustrated to raise the seat back.
NOTE: Raising the backrest may be difficult while a child is leaning on the backrest.
The reclining belt sometimes is twisted, Correct the twisted reclining belt by the
following steps:
Set the backrest down to the lowest.
1
Hold the belt mounting part and turn to the direction of the twisted reclining belt.
2
Reversing handle (Figure 3.3)
Lift and release the handle locks to change the handle direction until the locks are
secured in places.
Detaching the sun canopy (Figure 3.4)
Pull out the canopy joint end gradually, pull up the canopy away from the holder.
Attaching the sun canopy (Figure 3.5)
Switch the handle to face rear. Refer to this page "Reversing the handle".
1
Recline the backrest to the lowest angle. Refer to this page "Adjusting the backrest".
2
Place the canopy facing the proper direction.
3
Plug the canopy joint into the canopy holder.
4
Lift up the backrest, and fasten the buckles.
5
: Always use the restraint system.
1
13
. Pull toward direction
2
