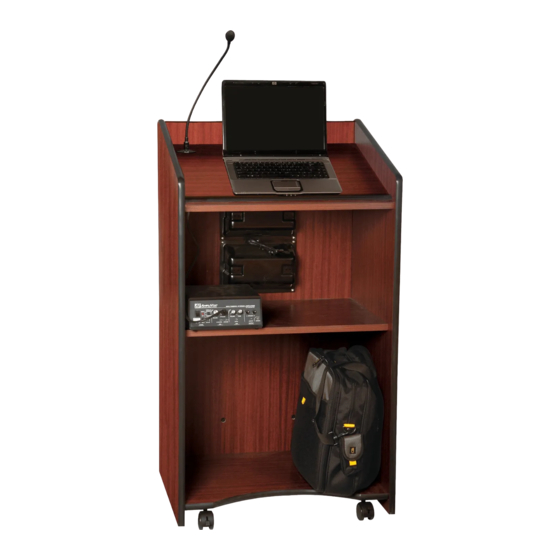
AmpliVox S-450 Instruções fáceis passo a passo - Página 2
Procurar online ou descarregar pdf Instruções fáceis passo a passo para Mobiliário de interior AmpliVox S-450. AmpliVox S-450 2 páginas. Presidential plus lectern assembly featuring quickfit-expando 6 connectors

figure 2
4. Attach front panel to left side. With the
left side panel laying on the work surface,
attach the front panel by sliding the connectors
over the steel pins. Both bottom unfinished edges
should be on the side. Use a phillips
screwdriv-
er to tighten the 3 Quickfit-Expando 6 connec-
tors. Turn 1/2 turn clockwise.
Do not overtighten the connectors. Over
tightening can break the connectors. [figure 3]
5. Install bottom panel. Push Minibloc connec-
tors in the bottom panel. Place bottom panel in
the slot on the leftsidepanel,flat unfinished edge
against the front panel. Using a phillips screw-
driver, install 4Minibloc Screwpins through the
Minibloc holes into the predrilled holes in the
side panel. [figure 4]
6. Attach right side panel. Place the right side
onto the front and bottom panel, tighten the 3
Quickfit-Expando 6 connectors in the
front panel
and install 4 Minibloc
Screwpins in the 2
Minibloc connectors on
the bottom panel.
Carefully roll unit onto
front panel.
7. Install reading table and shelf. Slide read-
ing
table over steel pins and tighten 4 Quickfit-
Expando 6 connectors. Slide shelf over steel pins
and tighten 4 Quickfit-Expando 6 connectors.
Install 2 locking casters on the finished side of
the bottom panel and 2 non-locking casters using
figure 3
figure 4
