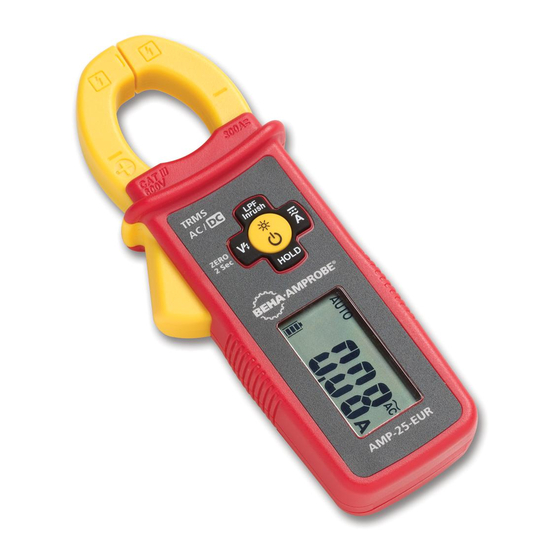
Amprobe AMP-25-EUR Procedimento de calibração - Página 5
Procurar online ou descarregar pdf Procedimento de calibração para Equipamento de teste Amprobe AMP-25-EUR. Amprobe AMP-25-EUR 7 páginas.

AMP-25, AMP-25-EUR
Calibration Procedure
4. AC A calibration (in calibration mode)
4.1. Press
button to select AC A mode
4.2. Clamp the jaw around the current coil and centered according the alignment mark on
the jaw. Ensure the jaw is completely close.
4.3. Apply the standard reference current according to Table 1., the display should show a
value (this shown reading does not have to be accurate from the standard reference).
4.4. Until the reading stabilized, press "HOLD" button to save the standard reference
calibration point. A beep will sound when successfully saved the CAL point.
4.5. Repeat step 4.3. and 4.4. for the next calibration point.
4.6. If EUT beeps twice when pressing HOLD button, it indicates the CAL point fail to save.
Repeat step 4.3. and 4.4. If EUT still fails to save CAL data point, contact Amprobe for
serving.
5. LPF calibration (in calibration mode)
5.1. Press
LPF
button to select LPF mode
5.2. Clamp the jaw around the current coil and centered according the alignment mark on
the jaw. Ensure the jaw is completely close.
5.3. Apply the standard reference current according to Table 1., the display should show a
value (this shown reading does not have to be accurate from the standard reference).
5.4. Until the reading stabilized, press "HOLD" button to save the standard reference
calibration point. A beep will sound when successfully saved the CAL point.
5.5. Repeat step 5.3. and 5.4. for the next calibration point.
5.6. If EUT beeps twice when pressing HOLD button, it indicates the CAL point fail to save.
Repeat step 5.3. and 5.4. If EUT still fails to save CAL data point, contact Amprobe for
serving.
6. DC A calibration (in calibration mode)
6.1. Press
button to select DC A mode
6.2. Clamp the jaw around the current coil and centered according the alignment mark on
the jaw. Ensure the jaw is completely close.
6.3. Apply the standard reference current according to Table 1., the display should show a
value . Then, remove EUT from the current coil. Press ZERO button > 2sec to zero EUT.
6.4. Position EUT back to the current coil as step 6.2. and apply the standard reference
current according to Table 1., the display should show a value .
6.5. Until the reading stabilized, press "HOLD" button to save the standard reference
calibration point. A beep will sound when successfully saved the CAL point.
6.6. Repeat step 6.2. to 6.5. for the next calibration point.
6.7. If EUT beeps twice when pressing HOLD button, it indicates the CAL point fail to save.
Repeat step 4.3. and 4.4. If EUT still fails to save CAL data point, contact Amprobe for
serving.
Rev. 002
Procedure for Item Number:
Page 5 of 7
4588254, 4588268
