Dr. Bridge KHG Manual do utilizador - Página 7
Procurar online ou descarregar pdf Manual do utilizador para Aquários Dr. Bridge KHG. Dr. Bridge KHG 20 páginas. Auto alkalinity doser

3.
Please keep KHG no more than 100 centimetres away
from your tank. It is necessary to keep KHG within this
distance to ensure the sample delivered by the SW IN
tube is same as your concurrent tank water.
For
"C"
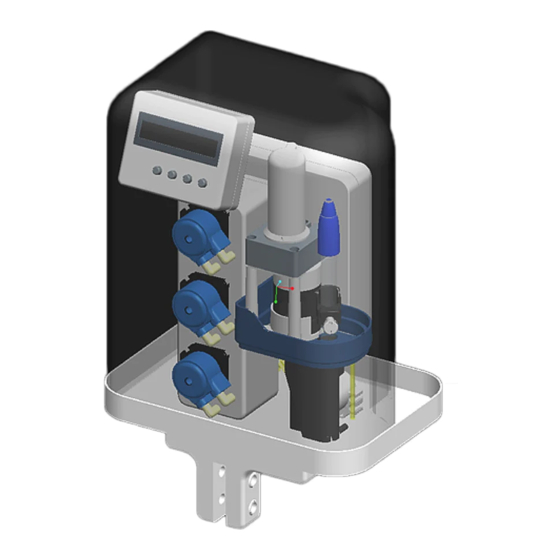
model, there are 5 silicon tubes ends that
4.
connects outside of the KHG. The uses of each are as
follows :
SW IN
Saltwater in. This tube connects to your tank water
for the sample to be taken. Source of tank water must
be filtered by 500 micron or less to keep tubes free of
blockage. Please make sure the medical grade check
valve (included with KHG) is installed in the right
direction.
SW OUT
Saltwater OUT. This tube are for purging reaction chamber water. Please make sure the medical grade
check valve (included with KHG) is installed in the right direction.
S.S. IN
Sodium Bicarbonate Solution IN. This tube connects to your Sodium Bicarbonate Solution Reservoir.
S.S. OUT
Sodium Bicarbonate Solution OUT. This tube connects to your tank or sump. It delivers the sodium
bicarbonate solution to your tank to use in combination with the KH auto correction feature of KHG.
KS
Reagent Solution. This tube connects to the KHG reagent solution bottle.
5.
pH probe calibration instruction :
Rinse pH probe with distilled water, and pat dry with fine tissue paper. When drying, please do not twist
dry probe surface with the tissue paper as this will damage the coating on the probe sensor, and will
render the probe inaccurate.
Please insert the pH probe into pH 7.0 calibration solution of at least 1.5 cm deep.Press and hold number
2 and number 4 buttons simultaneously for 3 second until you hear a beep and release both buttons.
Now the pH 7.0 calibraion is done.
Before proceeding to pH 4 calibration, please rinse pH probe with distilled water and pat dry with fine
tissue paper. Care must be taken not to twist dry with tissue paper as described in point "a" above.
Page 3
User Manual
(Figure 4)
